Software Usage
How to Encode Link URLs into NFC Tags Using Qliktag NFC Tools Software
This is illustrated here with the MacOS version as an example and
the Windows version and Linux version are similar.
2.1 HomePage
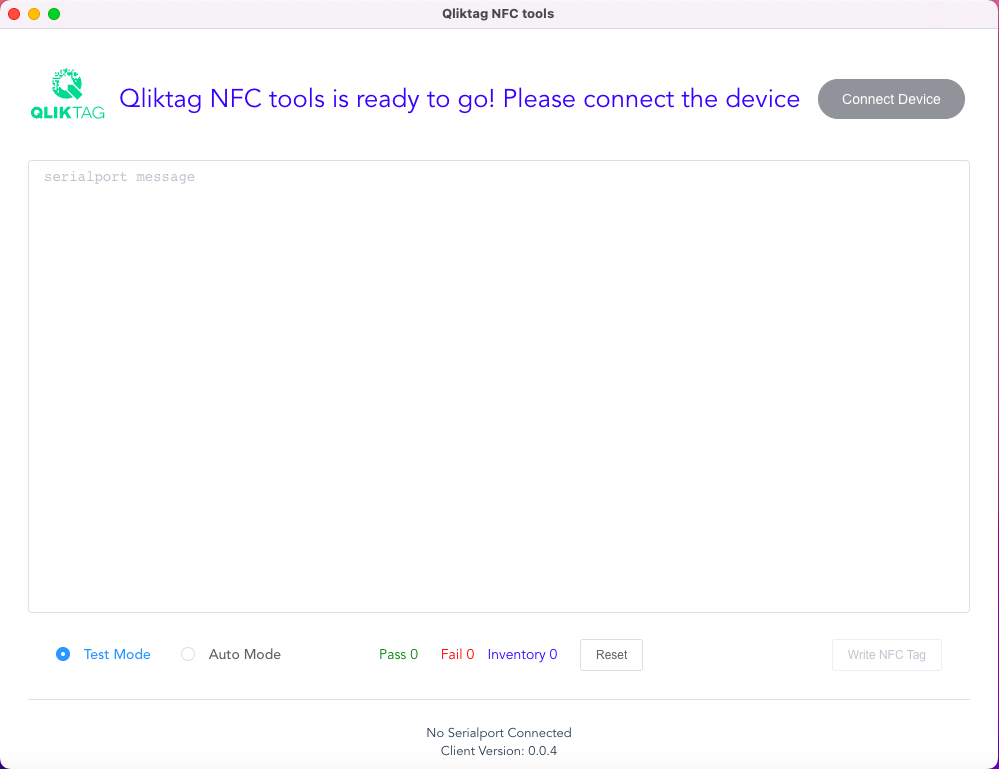
2.1.1 Writing / Encoding Modes
- Test Mode
The “Test Mode” is designed to allow you to write / encode a digital link URL from an upload sheet to the NFC tags one at a time. It requires you to click the “Write NFC Tag” button and then tap the NFC tag to the device each time you’re ready to write the next URL queued in the “Inventory”. This mode is ideal for writing and testing a few tags one by one.
- Auto Mode
The “Auto Mode” is designed to allow you to write / encode a larger number of digital link URLs to NFC tags in series. It can be used in conjunction with a label spooler or with the device placed near a conveyor belt where the NFC tags periodically come into contact with the device and sequentially encode the digital links queued in the “Inventory”. In this mode, the “Write NFC Tags” button only needs to be clicked once and NFC tags can be tapped on the device one after the next in sequence without having to click anything in between. This mode is ideal for manually bulk encoding multiple tags, to place on a production / packaging line or use with an automatic label spooler with an entire reel of NFC tags.
2.1.2 Counter
Cumulative Success / Failure Count.
You can click “Reset” to clear the counter.
2.1.3 Connect Device
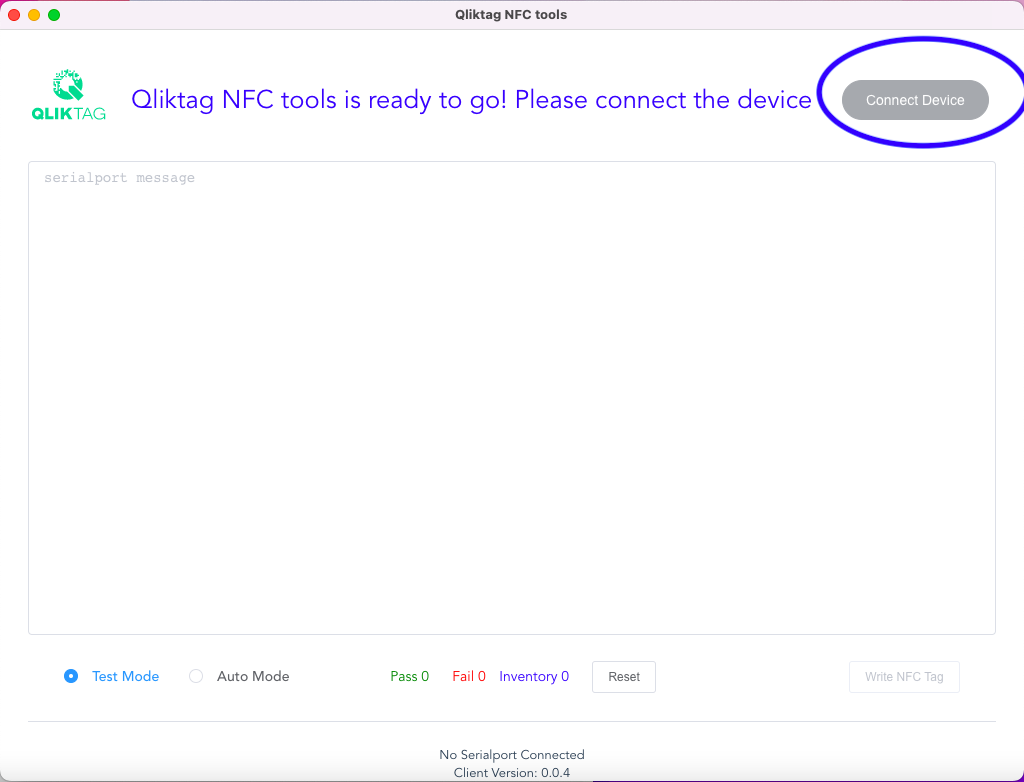
Ensure the device is plugged into the USB port and the drivers have been installed correctly. The Connect Device button can then be clicked to connect the device to the Qliktag NFC Tools software.
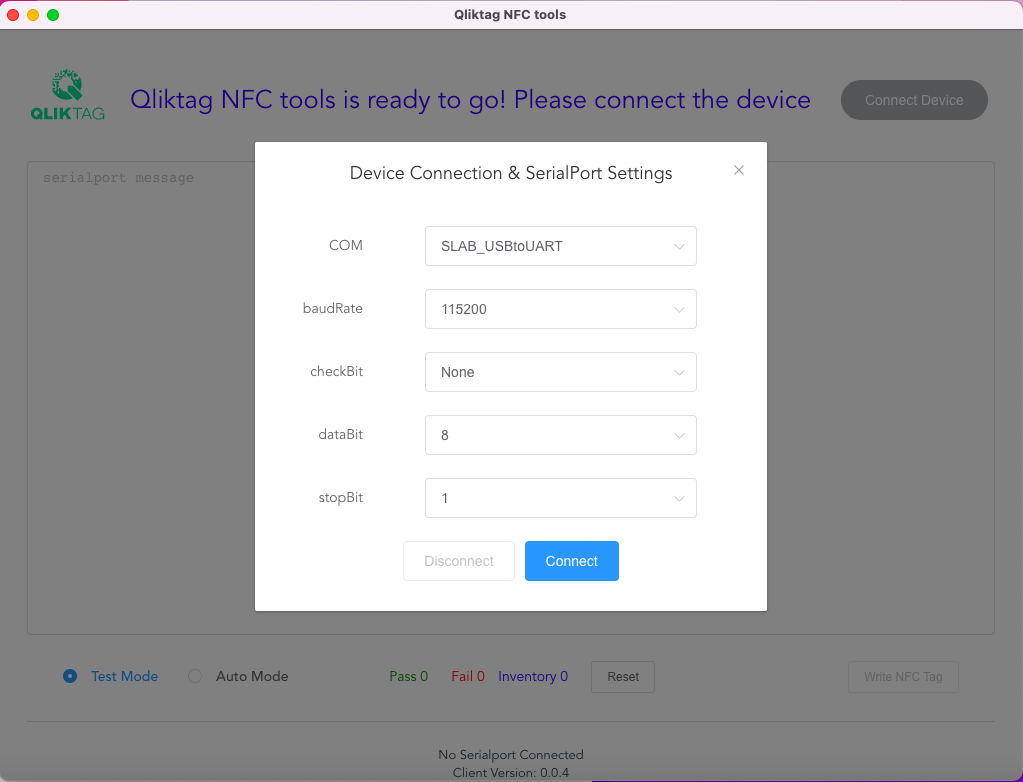
The “Device Controls & Serial Port Settings” window will pop up to confirm the connection settings. Check that within the “COM” dropdown, “SLAB_USBtoUART” is selected from the dropdown and the other settings match the settings in the screen diagram below. Then, click the “Connect” button.
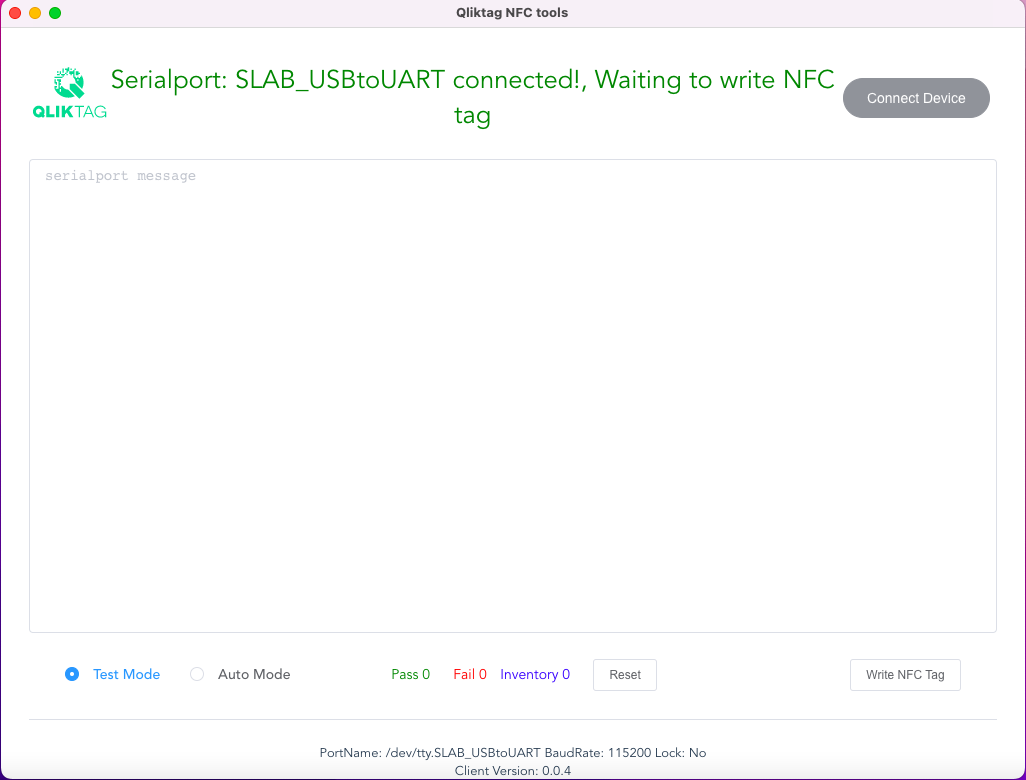
You should then see the message “Serialport: SLAB_USBtoUART connected!, Waiting to write NFC tag”. This indicates that the device has been successfully connected to the software and is now ready to write / encode NFC tags.
2.1.4 Uploading a CSV File with Digital Links to be Encoded
In the top menu bar, select the “File” menu option, and then click on “Upload CSV File”.
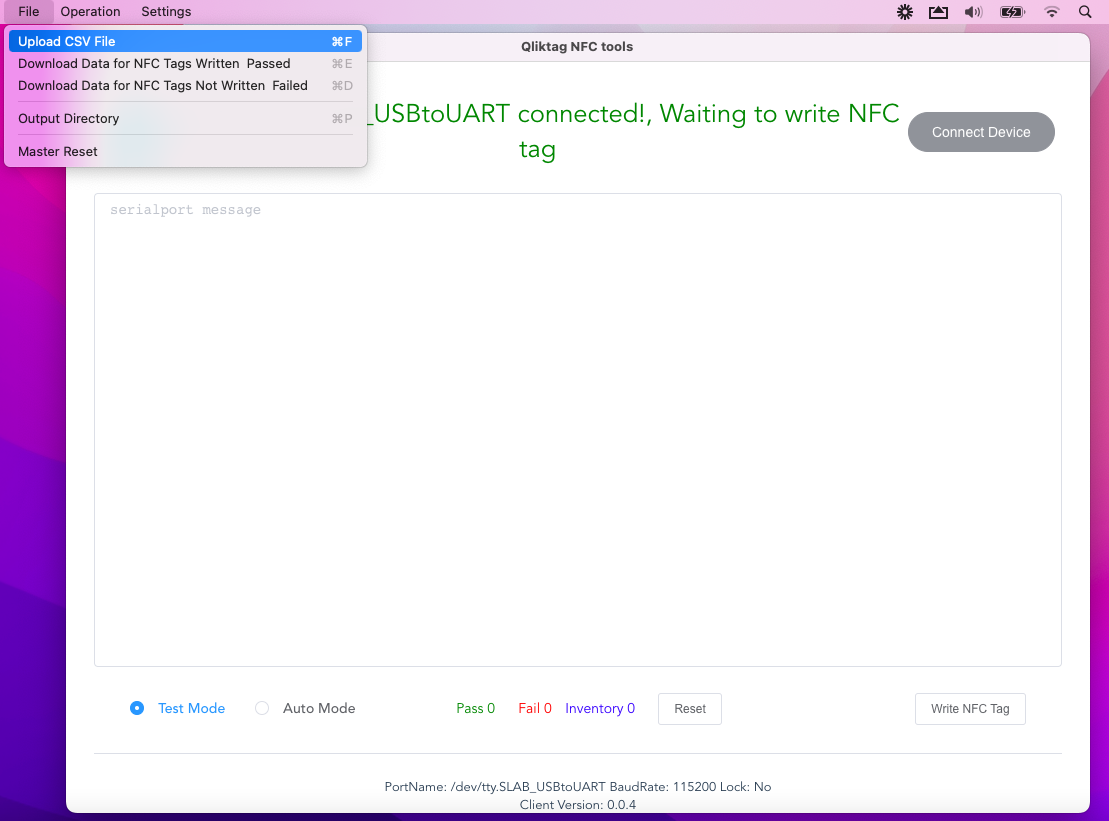
From the file browser / finder screen that comes up, locate and select your .CSV file which has the digital link URLs you need to encode into the NFC tags.
Once you have selected the CSV file and proceed, you should see a message indicating that the records with the URLs have been successfully uploaded. Click OK.
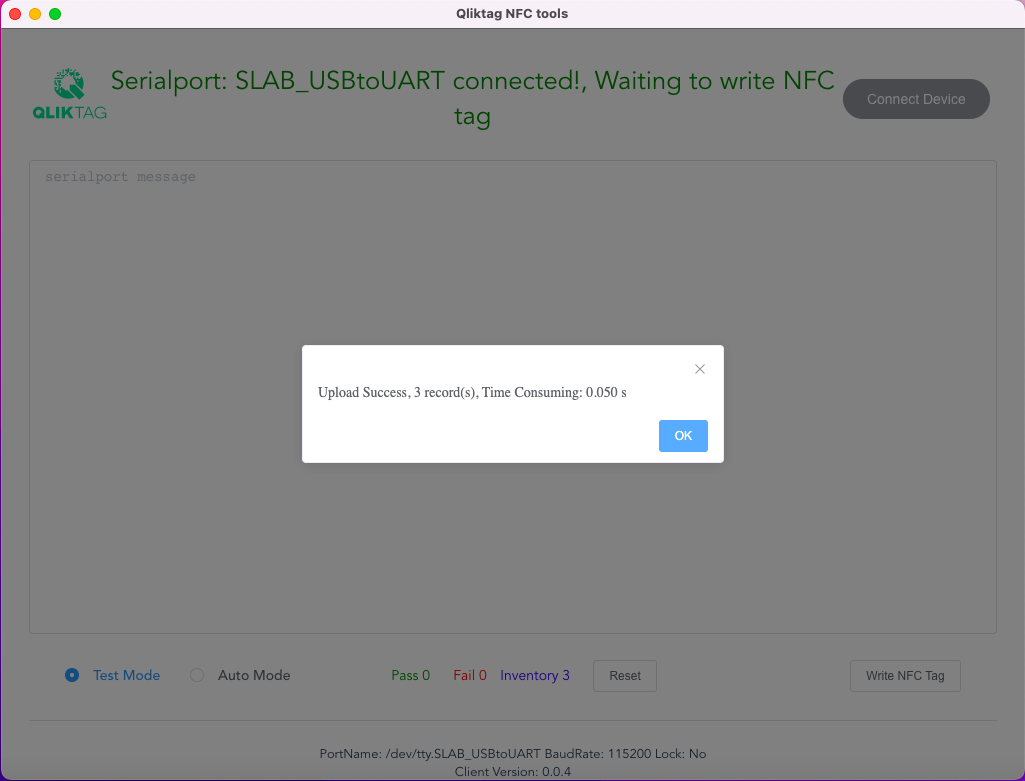
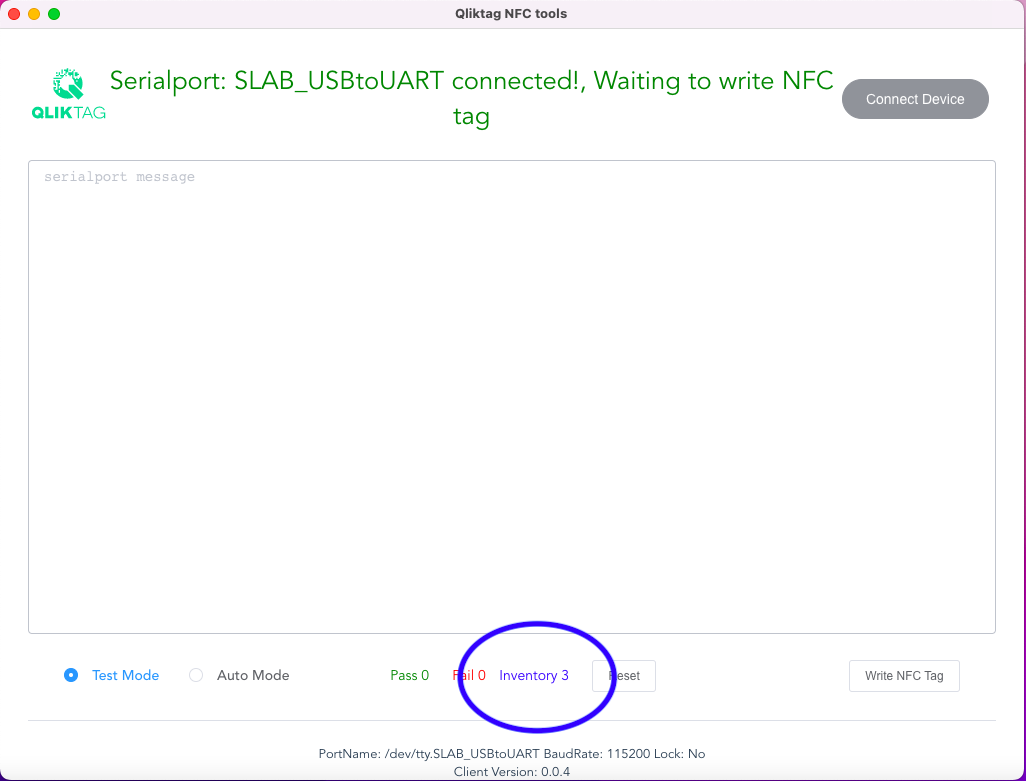
You should now be able to see a count of the records that have been uploaded and queued up in the “Inventory” that is ready to encode.
2.1.5 Write NFC Tag / Run / Stop
Click the “Write NFC Tag” button to run or stop the process of writing / encoding the digital link URLs to the NFC Tags.
In “Test Mode” the following screen will come up.
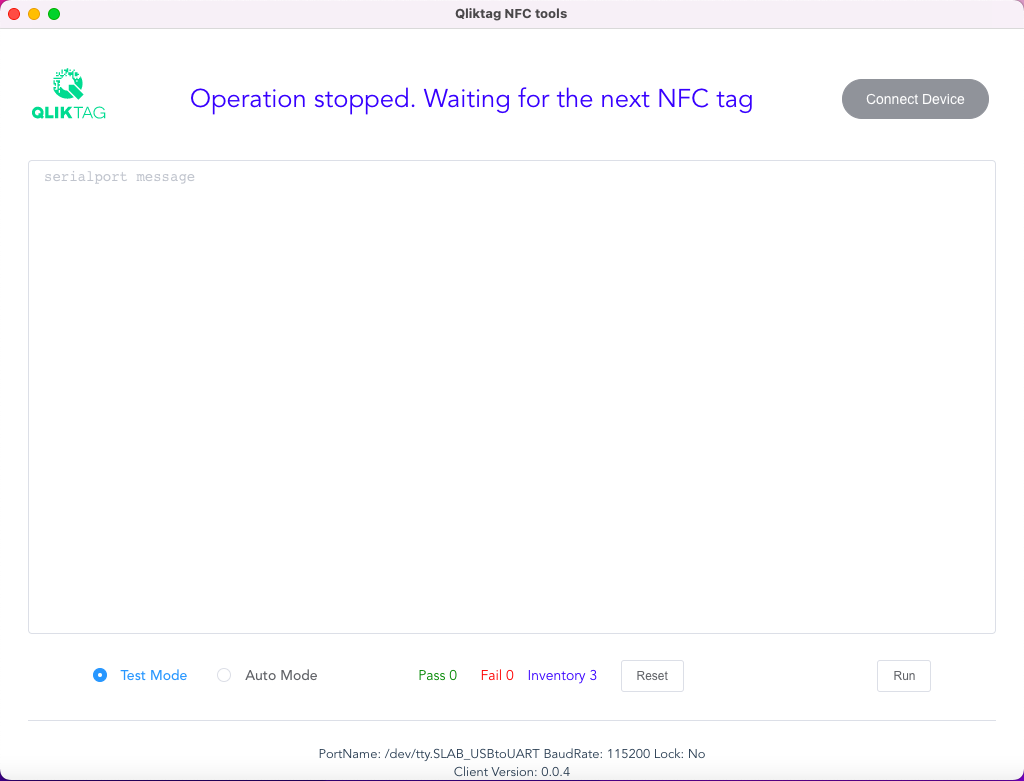
Click on “Run” to continue.
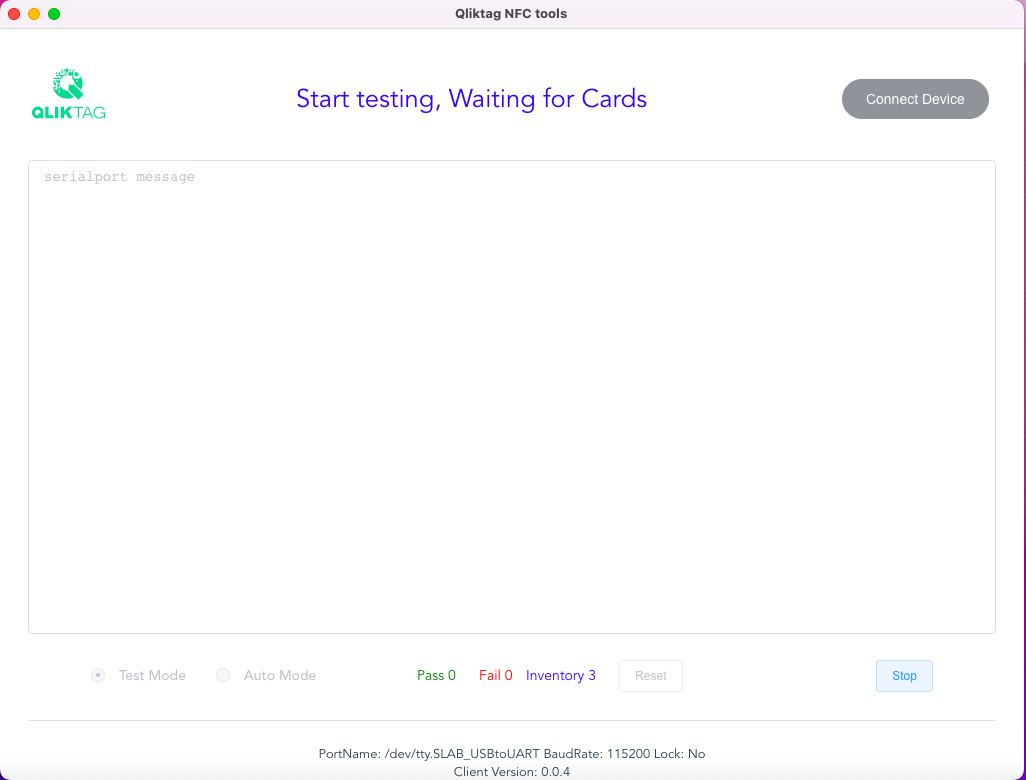
The following prompt will appear at the top ”Start testing, Waiting for Cards”. This indicates that the software & device are ready and now waiting for an NFC tag to be tapped on the device.
Proceed with taking a blank NFC tag and hold it over the device (the tag can touch the device or be brought within millimeters of the device or / you can physically touch the device with the tag) and hold there for about a second while it encodes.
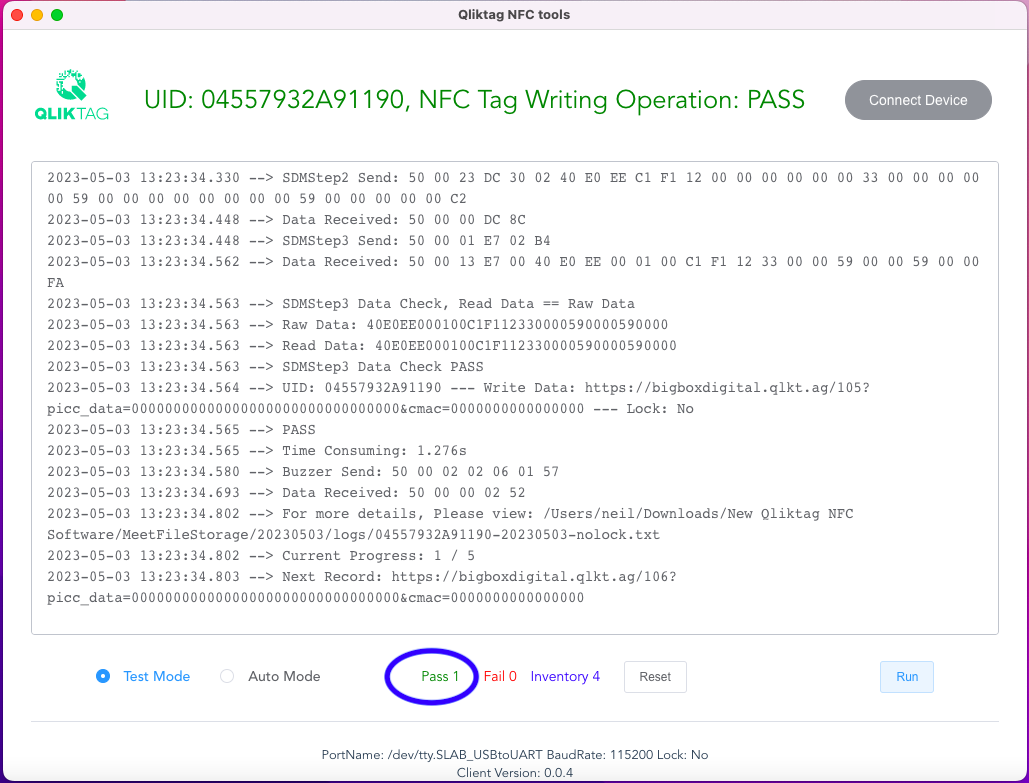
The device will beep, display the data being encoded into the tag as in the screen above, the top message will display the UID of the tag followed by a message to confirm the tag encoding / writing operation has successfully been passed and the pass counter at the bottom of the screen should indicate that one NFC tag has successfully been written and passed.
To write the next NFC tag, click the “Run” button again and repeat the process. At that point, the Pass counter should display 2 NFC tags successfully written and passed.
If you use “Auto Mode”, there is no need to hit the Run button multiple times. Once an NFC tag has been successfully written, it will indicate that it is ready for the next tag to be tapped one after the other till the Inventory has reached ‘0’ or the writing operation has been stopped. To stop the operation when in “Auto Mode”, hit the “Stop” button.
Testing the Tags
Take your NFC enabled Android phone or iPhone and make sure you do not have any apps open on the phone.
Unlock your phone. Place the tag on a flat surface and tap the tag with your smartphone. You should hear a sound if the tag has been successfully detected and read. The digital interaction will then load within your phone browser and should display an “Authentication Failed” message if at this point. This is alright because your Tag UID has not yet been updated to the Qliktag Platform and added against your item. Once you have downloaded the Tag UIDs and uploaded them / updated back in the Qliktag Platform, the tag should display an “Authentication Successful” message.
You will notice the picc_data=0000000000000000000000000000000 and cmac=0000000000000000 within the URL would have been replaced by actual values generated by the NFC tag. If you see the picc_data updated with 32 alphanumeric characters and the cmac updated with 16 characters, your tag is encoded correctly.