Before creating a new event, it is important to ensure you have enabled push notifications for the template that you intend to use along with this event. Please refer to the instructions in “How to Enable Push Notifications for a Template” in the section above.
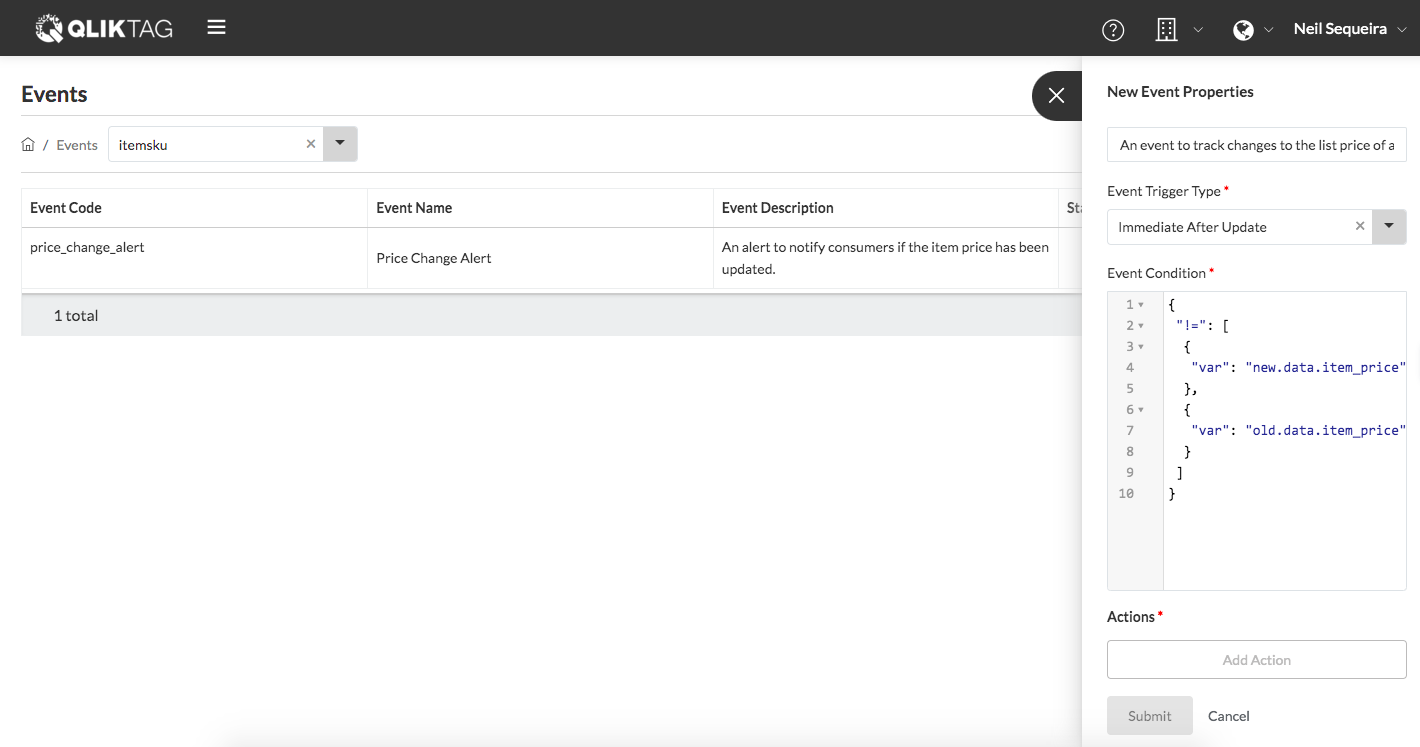
In the main menu, select “Events & Notifications”.
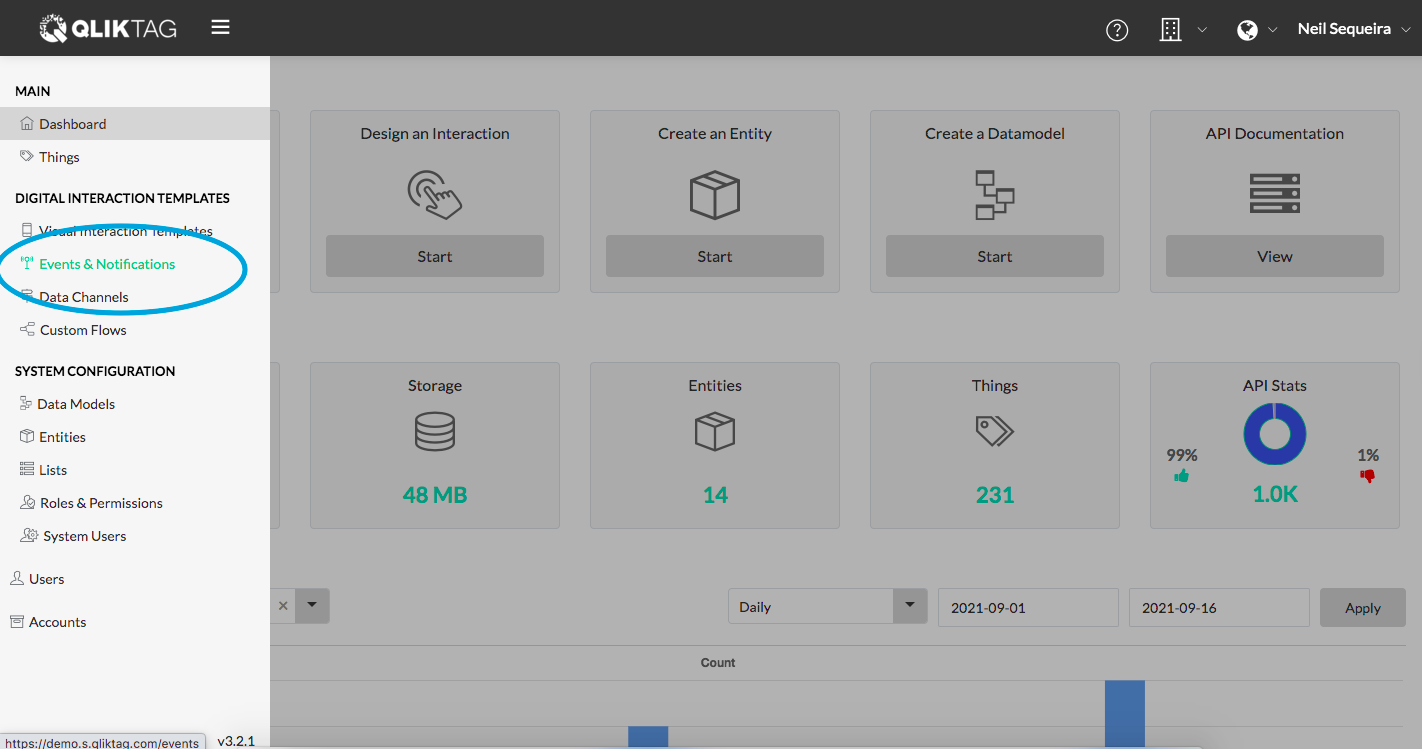
Select the “Entity” for which you want to define an event from the Entity dropdown.
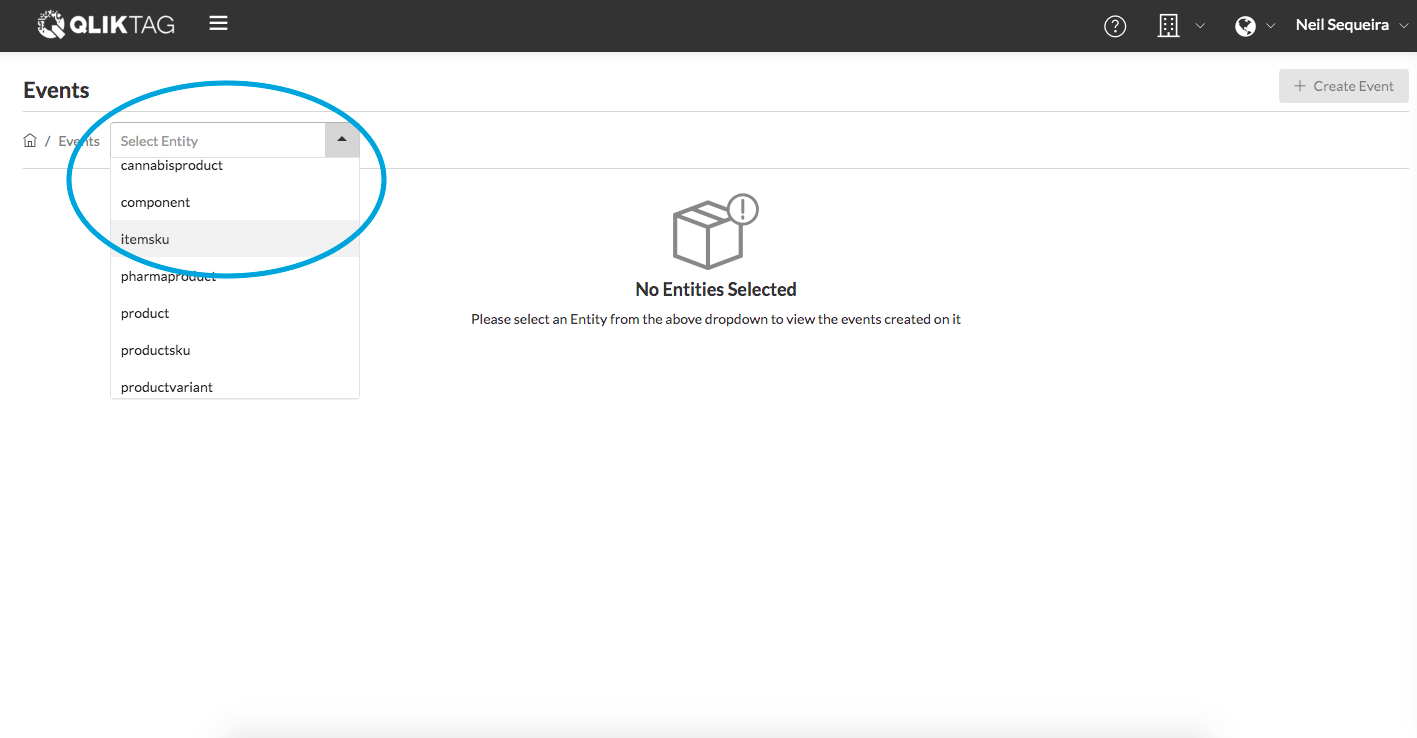
Click the “Create Event” button. The slide out with the properties should appear.
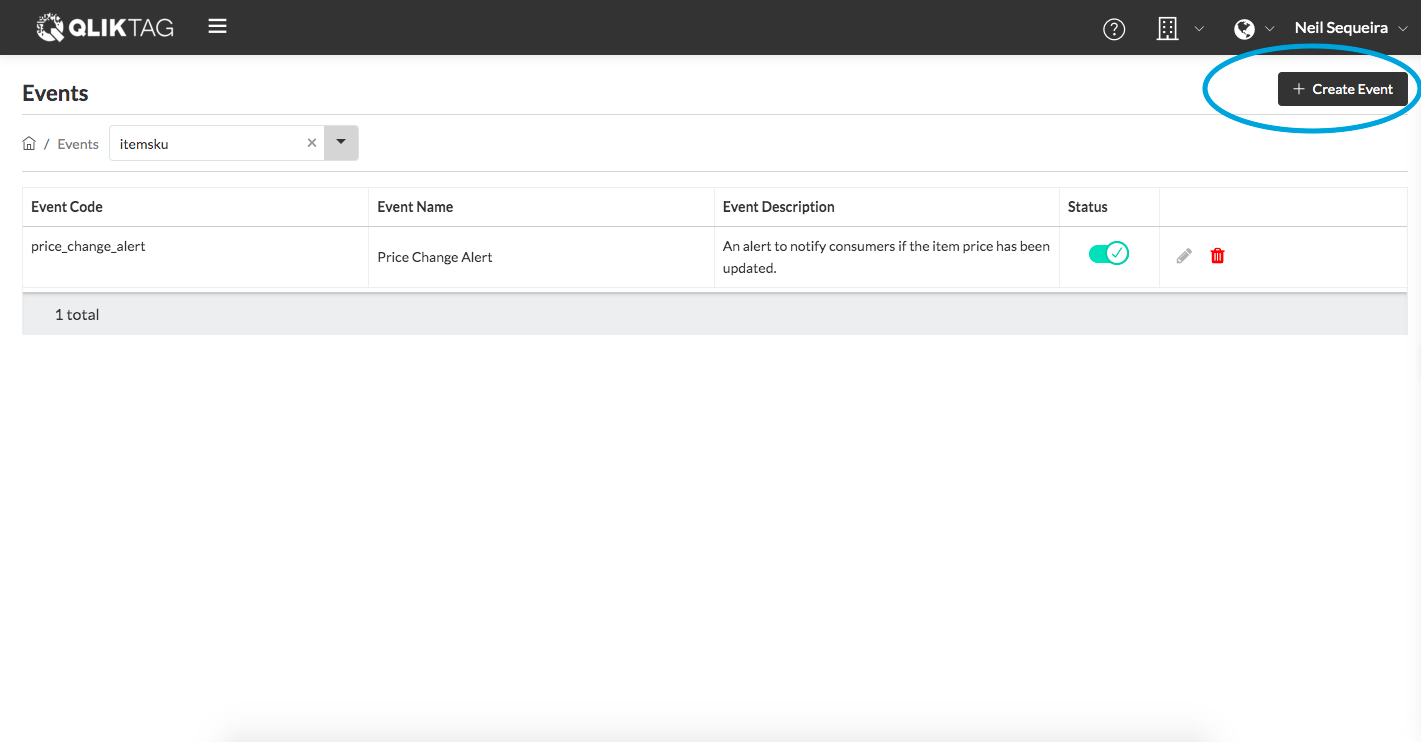
Give the event an “Event Code”. Note: the event code will be used internally by the system and should not contain any spaces or special characters.
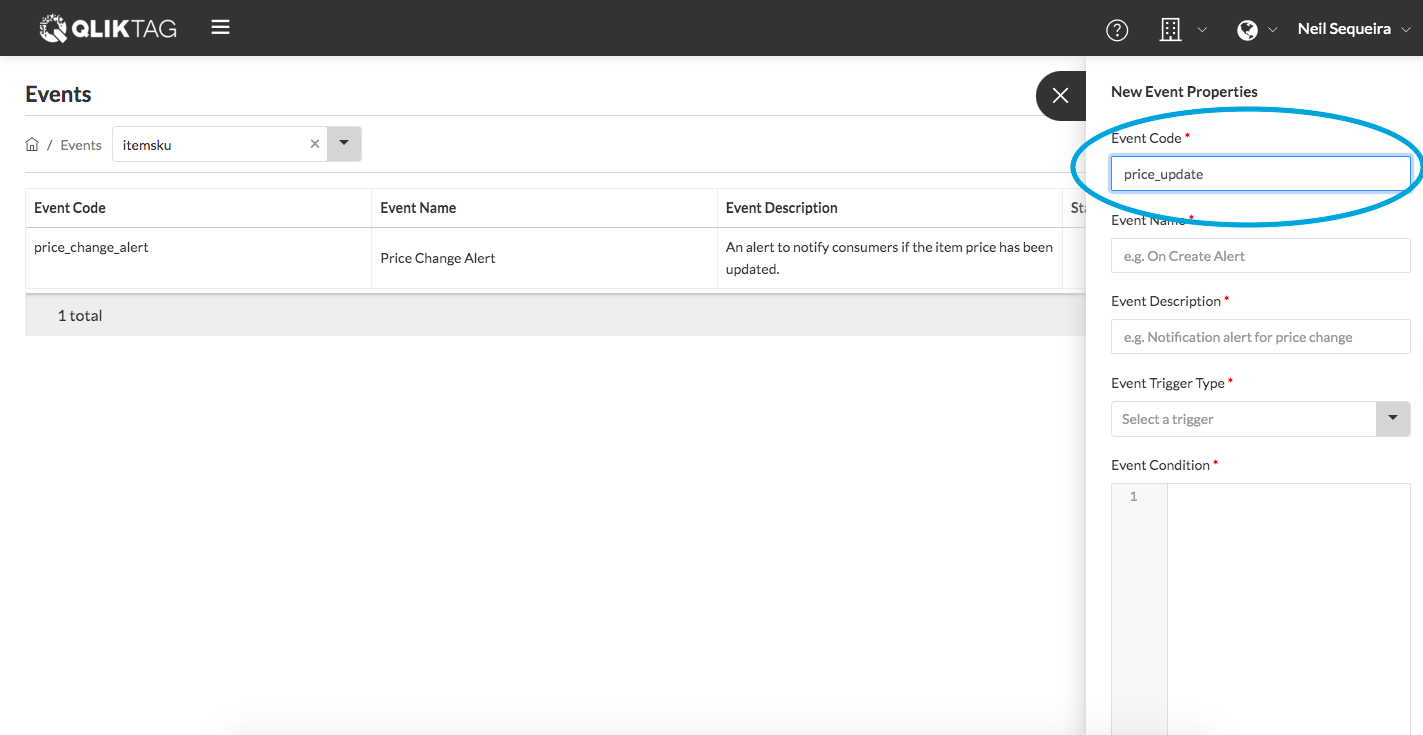
Give the event an “Event Name”. This is a user-friendly name used to identify the event within the system and UI.
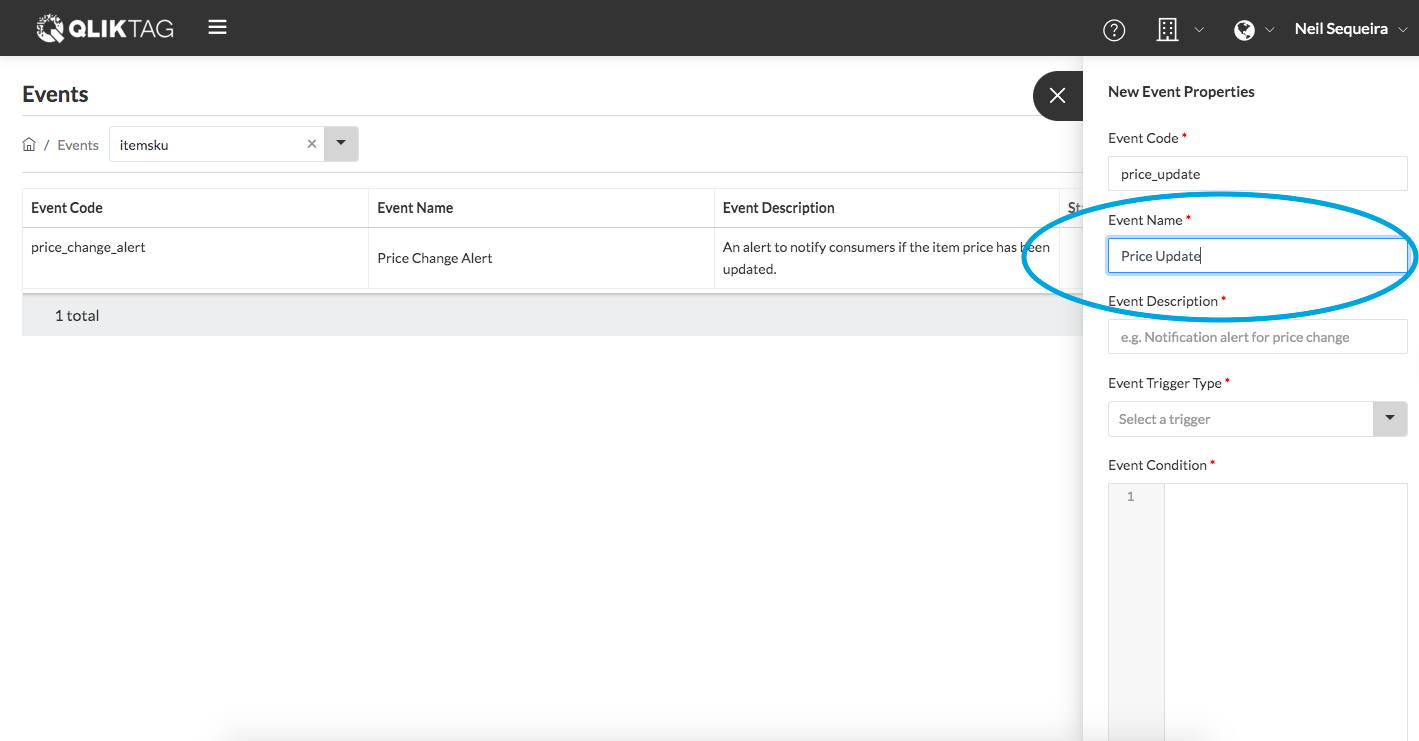
Type in a description of the event. Again this helps identify the purpose of this event within the system UI so users know what it was created for.
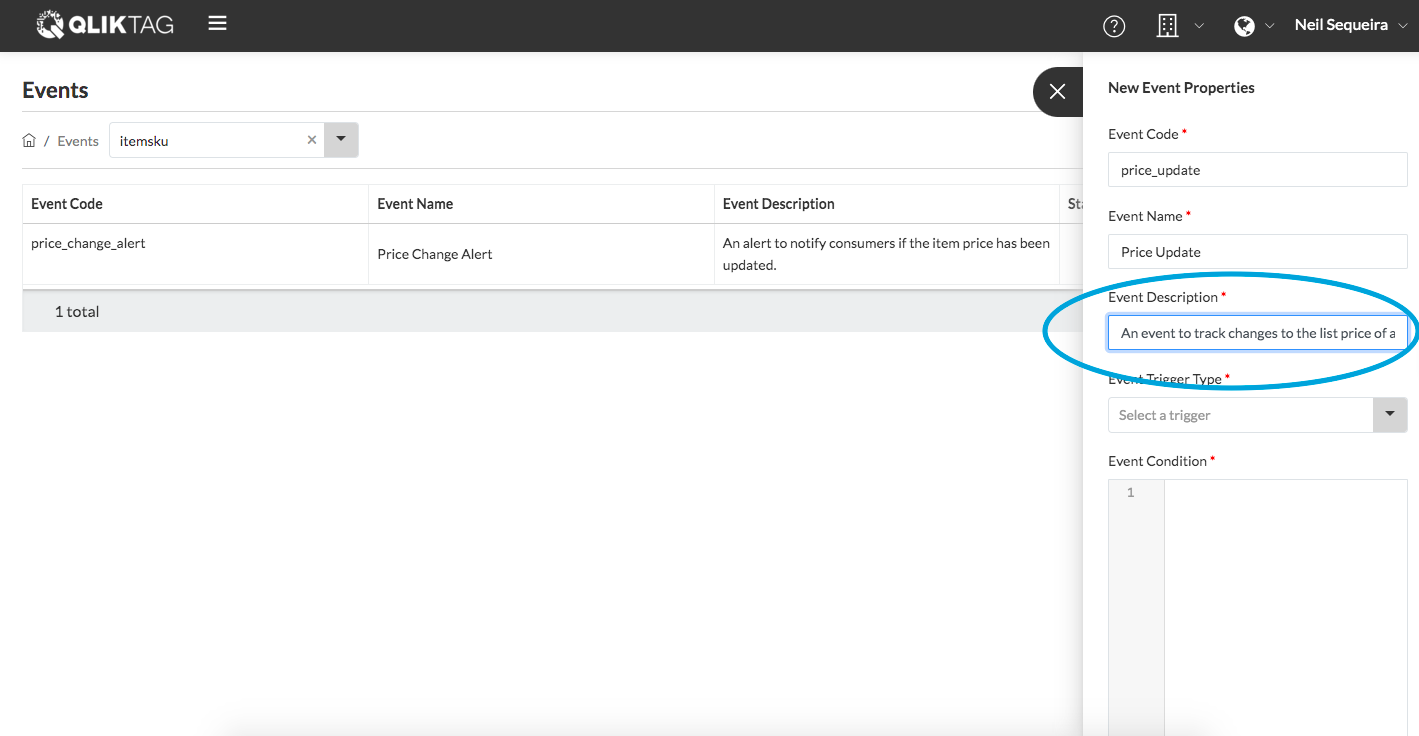
Click the “Event Trigger Type” dropdown and select when you would like this event to run. Events can be triggered on creation of a new “thing” instance, on updating or saving a “thing” instance or on deletion or removal of a “thing’ instance.
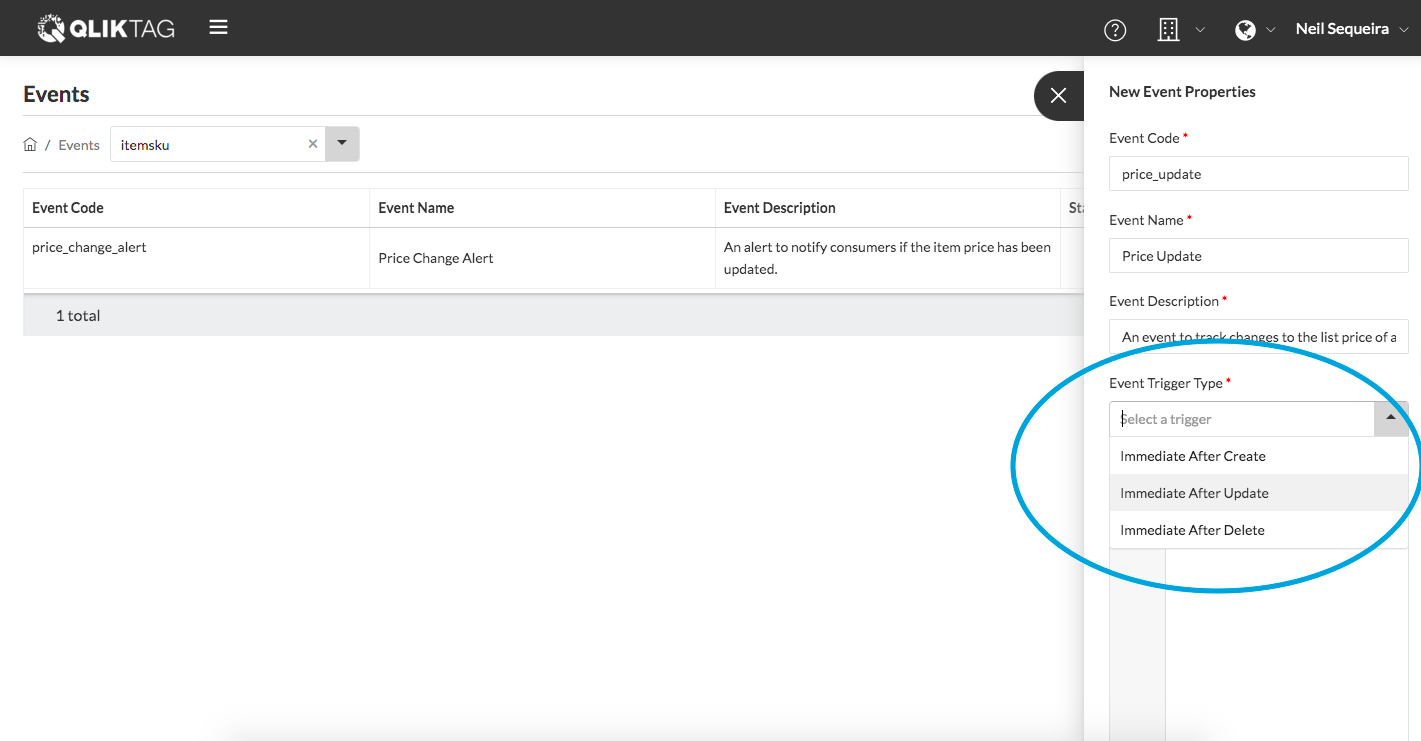
Click inside the “Events Condition” text area. This will bring up the “Event Condition Logic” builder in a pop-up window.
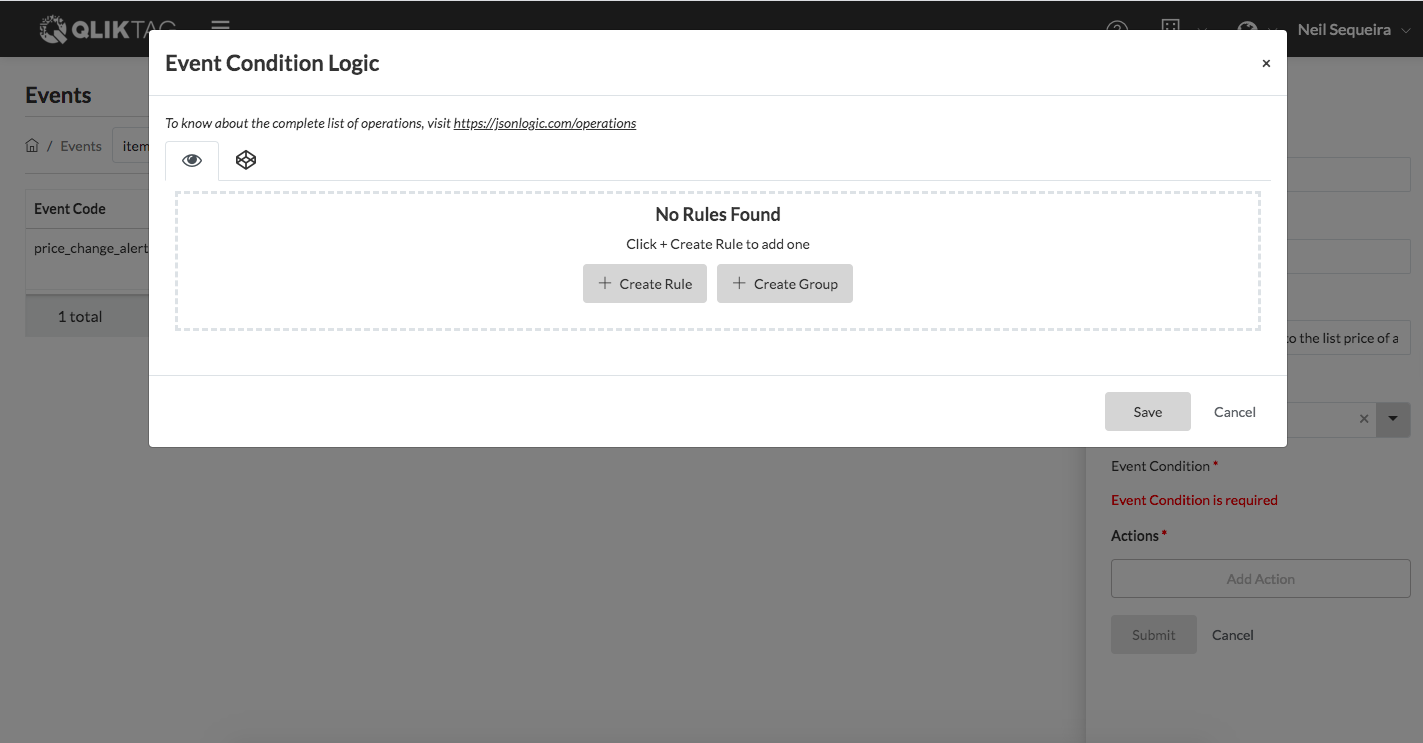
Click on “Create Rule” if you want to create an event which fulfils a single rule or condition. To create an event based on a combination of rules or conditions, select “Create Group”. This way you can create multiple rules combined with “AND” or “OR”.
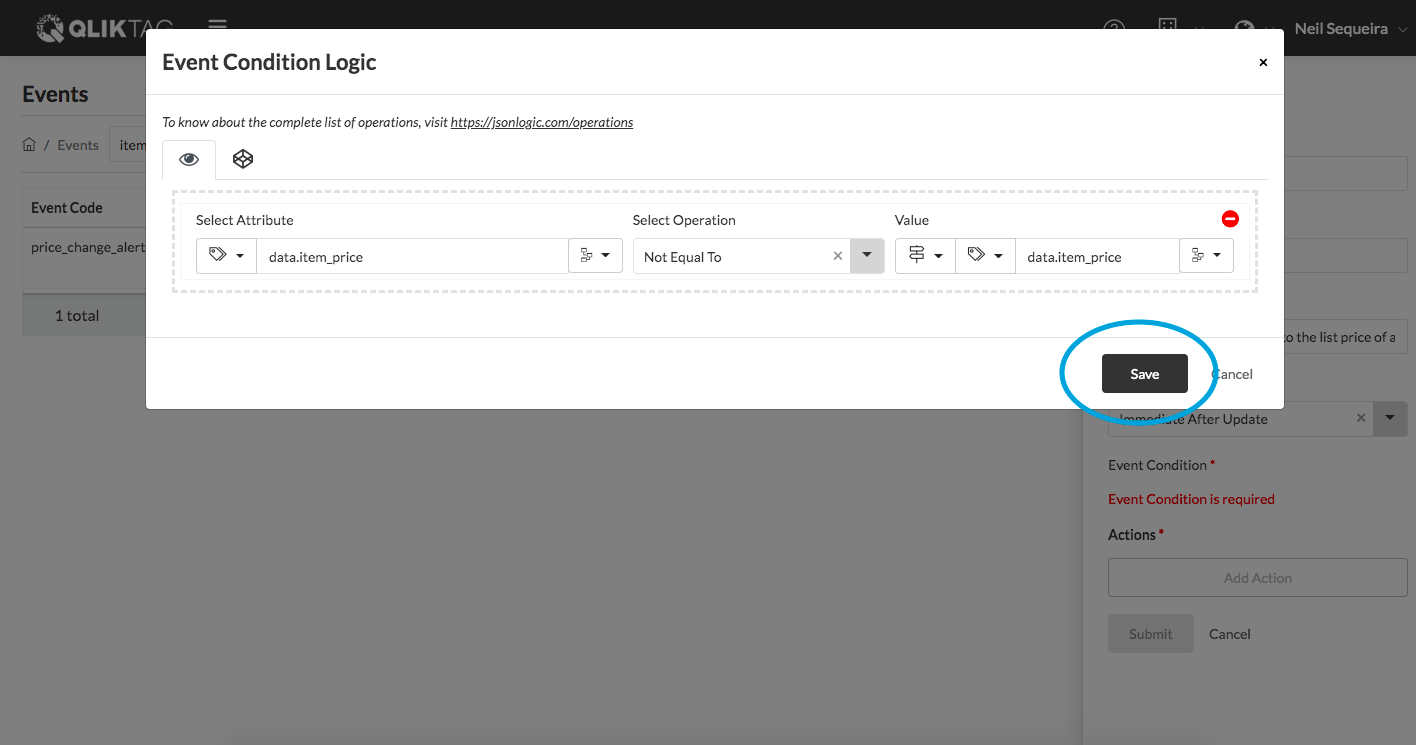
For the purpose of this tutorial, let us assume we want to create an event to track any update in the price of the item and alert the end user if there is any change in the list price of the item they have opted to receive notifications for. We’ll select “Create Rule”
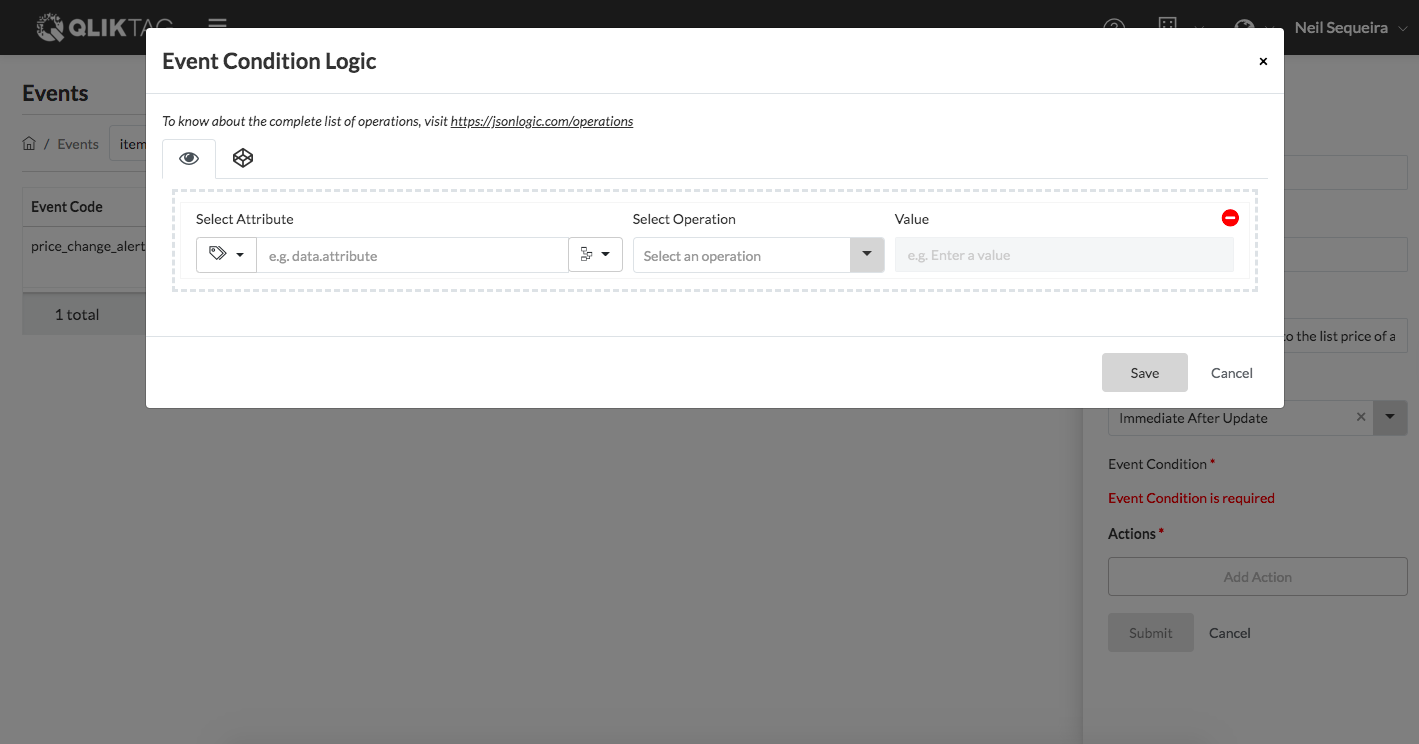
Click the first drop down and select “New/Updated” in the “Compare Against” section. This is because we want to compare the newly updated price against the older existing price. If you want to create a condition where you want to compare the old against the new, you could reverse this.

Next select the attribute selector drop down and select the attribute you want to compare. In this use case, we would select the list price.

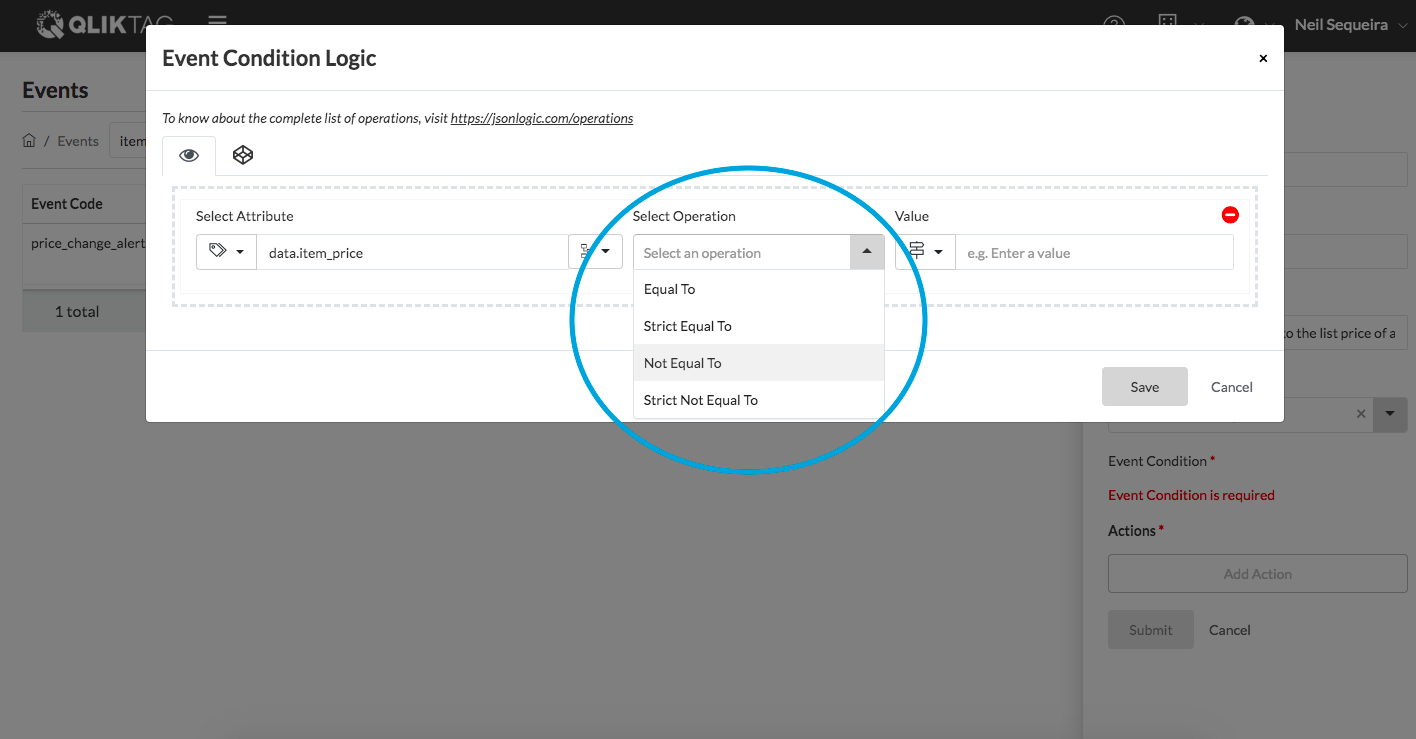
Next, select the operation. The operators available within the dropdown are determined by the data type of the attribute. In this use case we are going to select “Not Equal To” since we want to track any change in value of the list price field.
Then click the dropdown shown in the screen below. This will ask you whether you want to compare against a specific value that you want to define or compare against the value within a certain field. In this case we’re going to select a field because we want to compare against whatever is currently within that field.
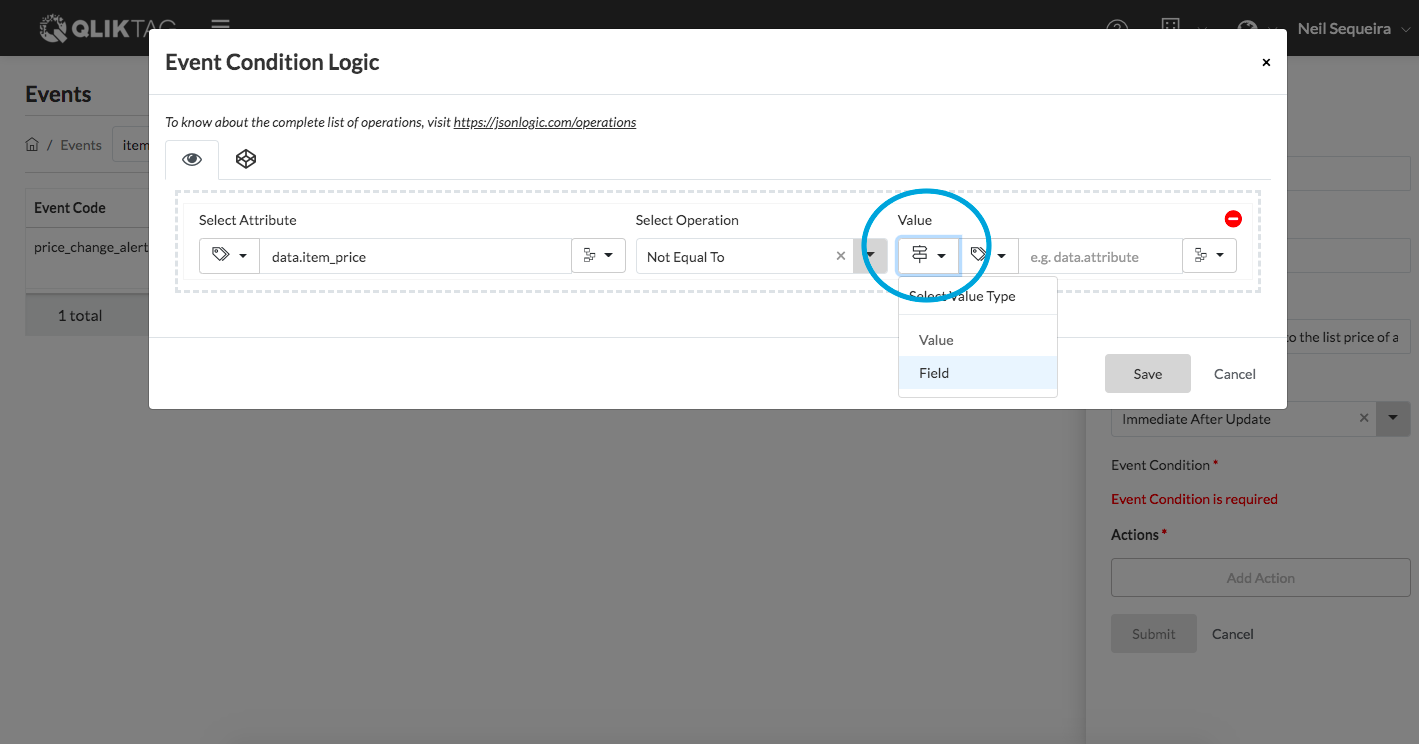
Click on the next drop down and select “Current” as we want to compare the new value against the current value.

Then click on the attribute selector drop down and select the attribute “list price”

Finally, click on the “Save” button to save the condition you have just created.
You should see the code for the condition you have created with the logic builder dropped in the text area for “Event Condition”.
