Register for a “FREE” plan account on the Qliktag Platform. This will offer you a subscription account to the platform with all the key features available to you, free forever for a limited number of products or serial items. If you haven’t already signed up for an account, you can use the link below to register:
https://www.qliktag.com/start-trial/
Once you’ve signed up, you will receive an email with a verification link to verify your account and create your administrator account, user login and password.
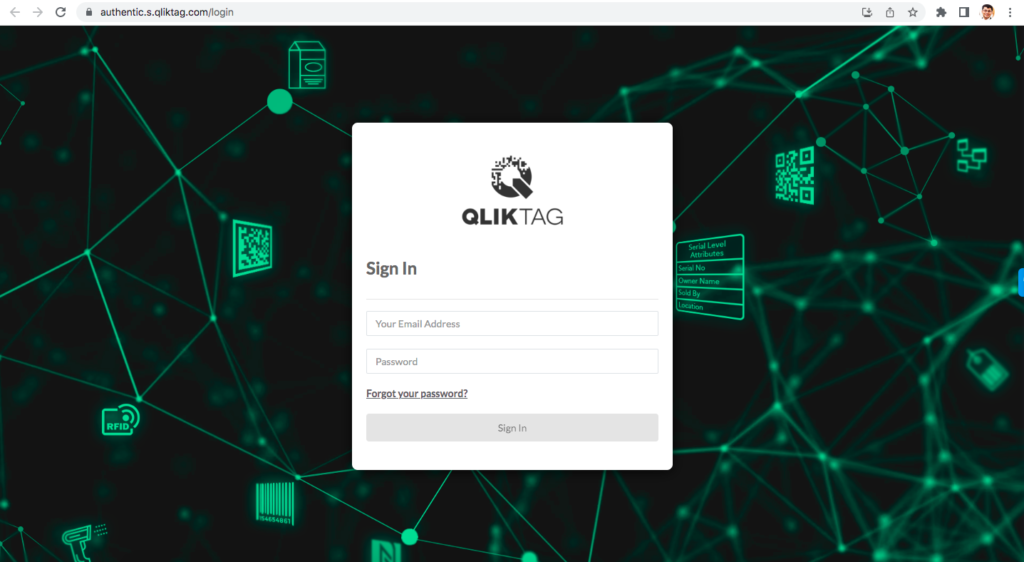
Navigate to the Login page and enter your email address and password to complete the sign in.
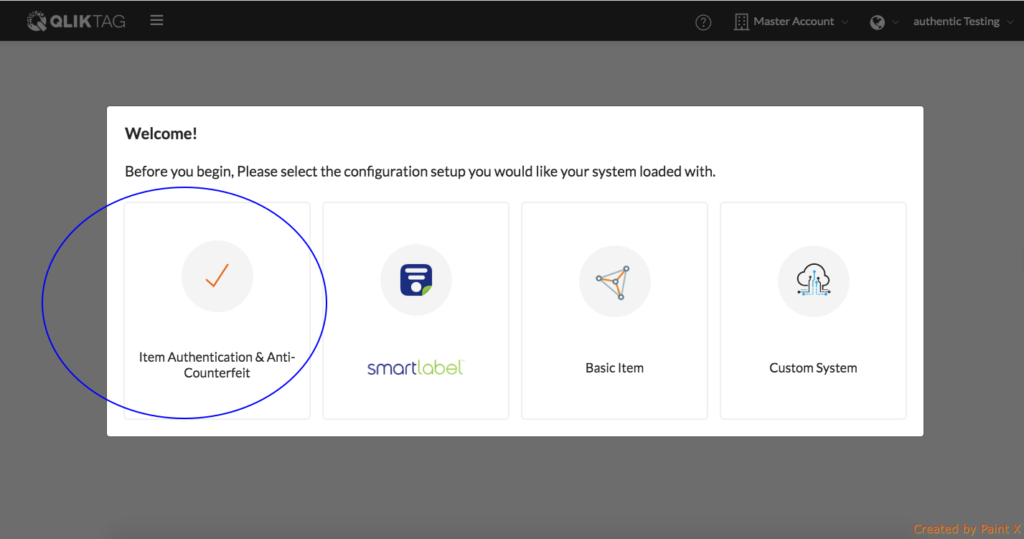
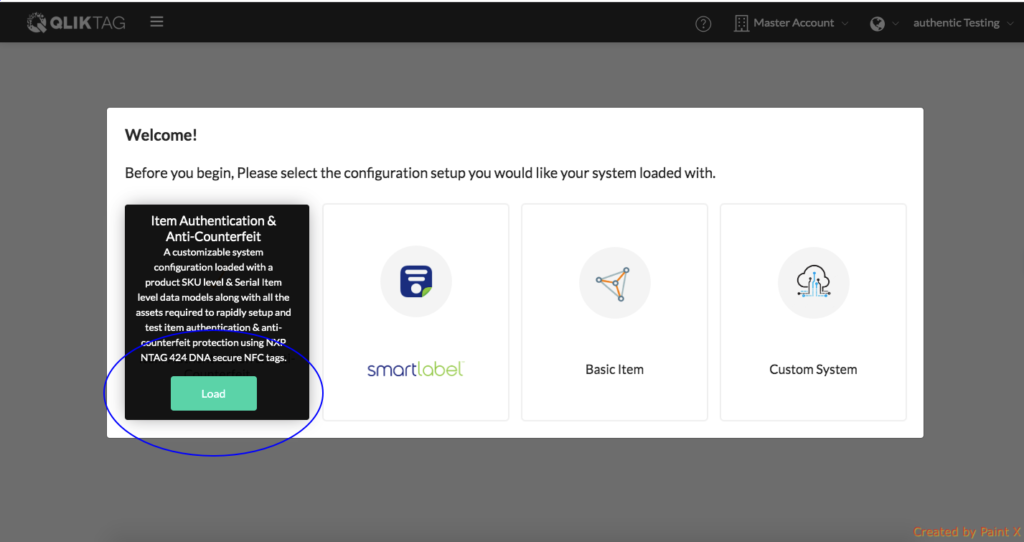
When the “Welcome” pop up screen appears, navigate over the option which reads “Item Authentication & Anti-counterfeit”. This is the configuration that will pre-load all the assets, configuration files and templates required to deploy an item authentication system. Click on the “Load” button to start installation.
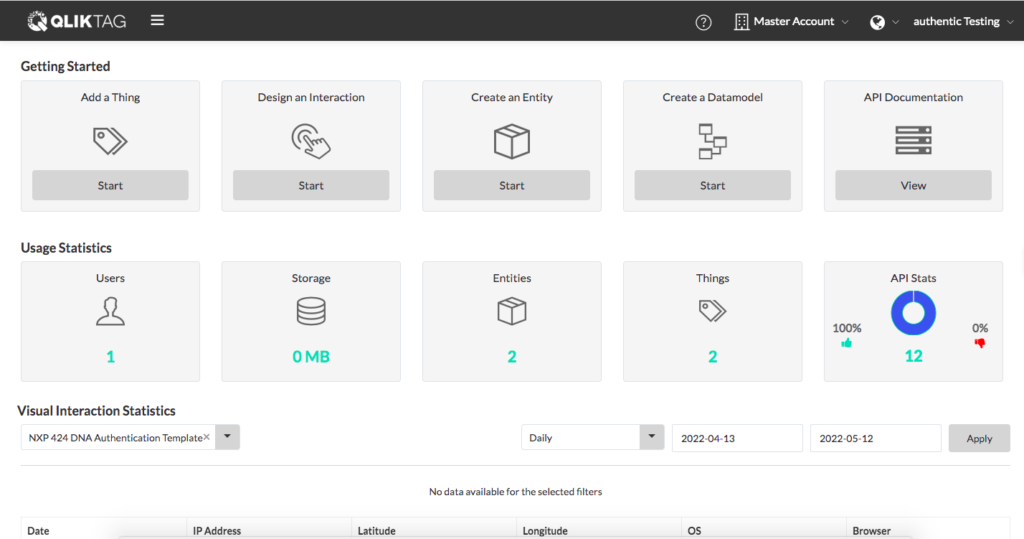
Please wait while the system loads the assets and configurations in the background. This can take a few seconds. Once the configuration is complete, you will be redirected to the main Dashboard section.
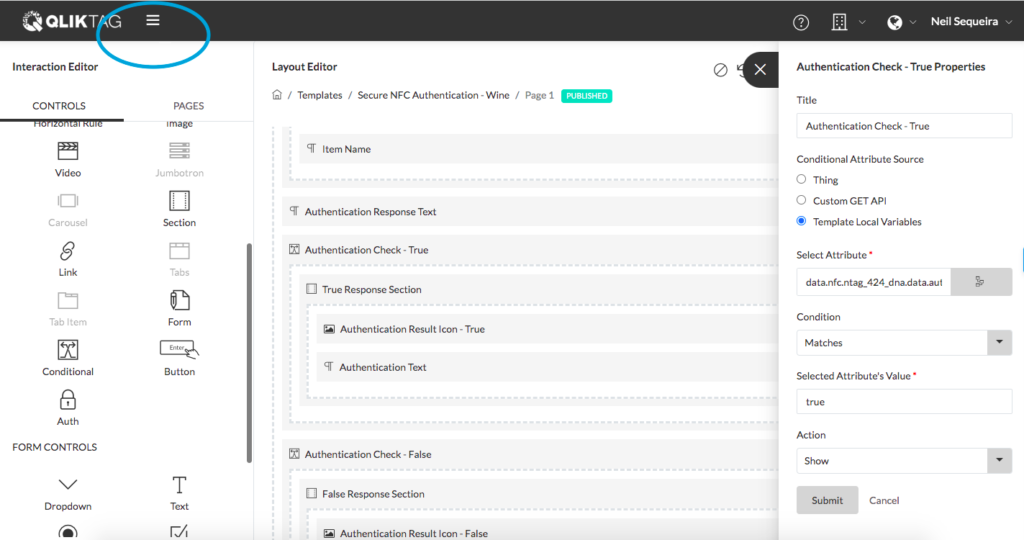
On the top left of the screen you will see a hamburger menu icon. Click the menu icon to open up the main menu section. Then, click on “Things” to navigate to the Things section.
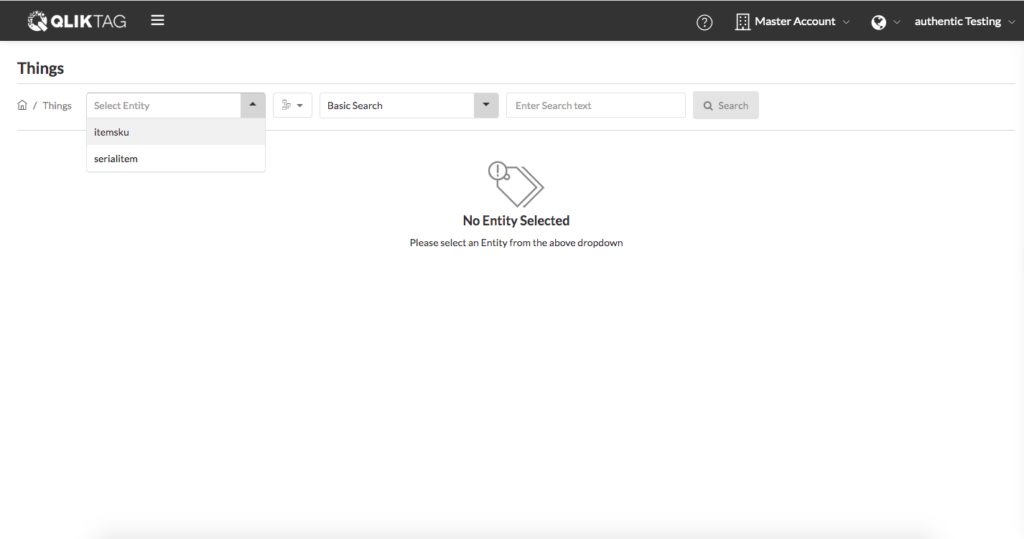
This will bring up the “Things” section. Now, click on the “Select Entity” dropdown at the top left of the screen.
Now, select the “itemsku” Entity option. This will bring up one item at a product SKU level which is a ‘demo’ product that has been pre-loaded for you as part of the configuration.
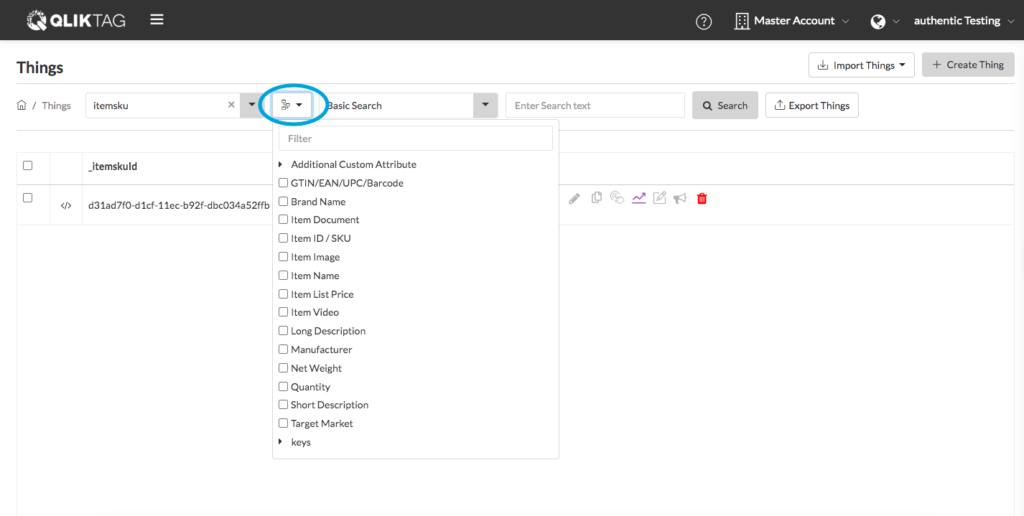
Select the “attributes dropdown” button to the right of the entity field.
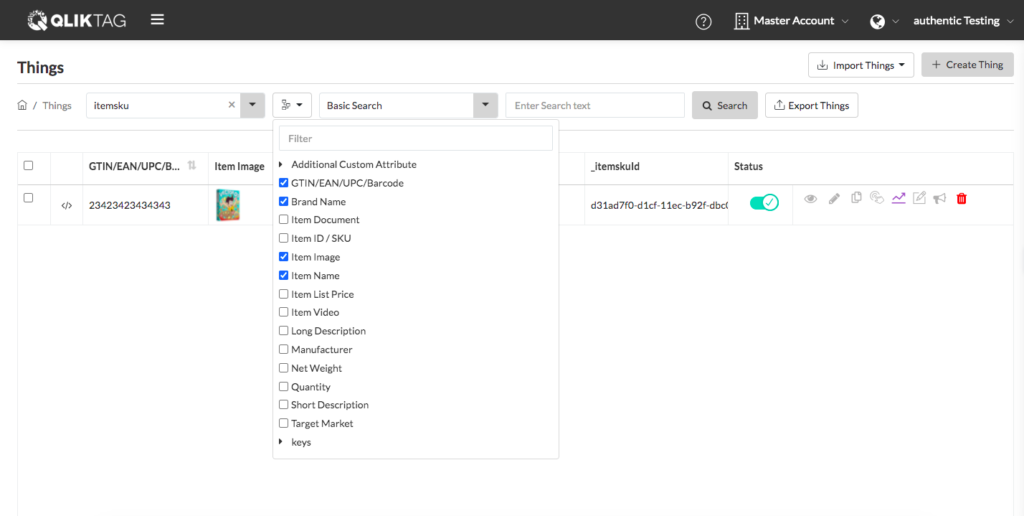
Select the checkboxes for GTIN/EAN/UPC/Barcode, Brand Name, Item Image & Item Name. This will select the attributes you want to view when the items are listed.
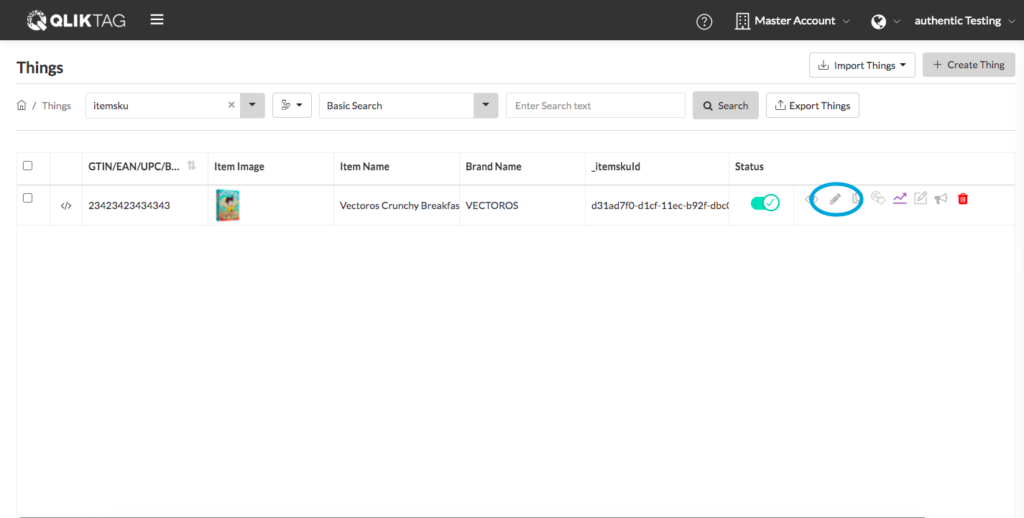
Click on the pencil icon to “edit thing”.
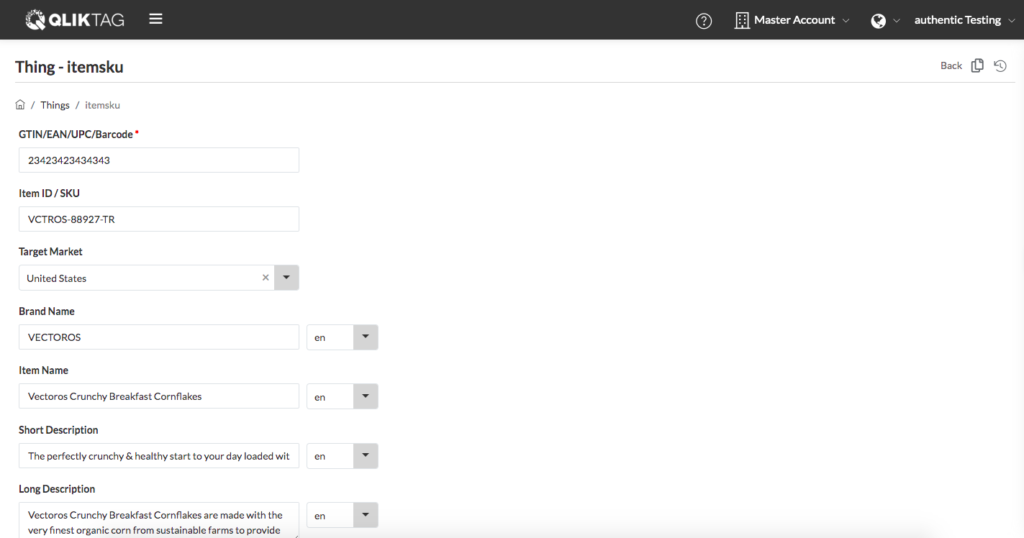
This is where you can view and edit SKU level attributes about your product. If you have a product of your own, feel free to either edit this demo item and add information here about your own product or, go back one screen and click “Create Thing” to add a second product SKU of your own. To learn more about creating and editing a “Thing” please refer to this section – Things
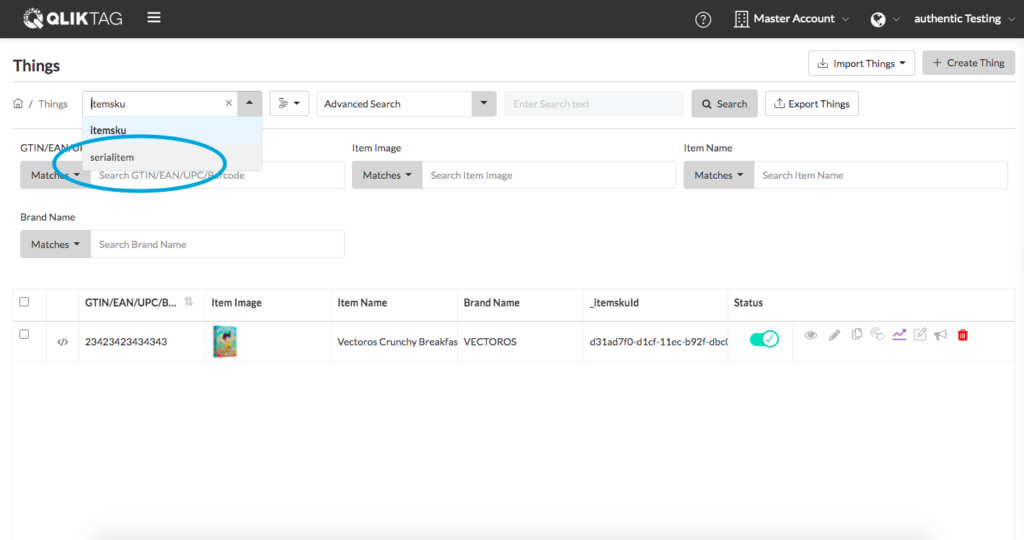
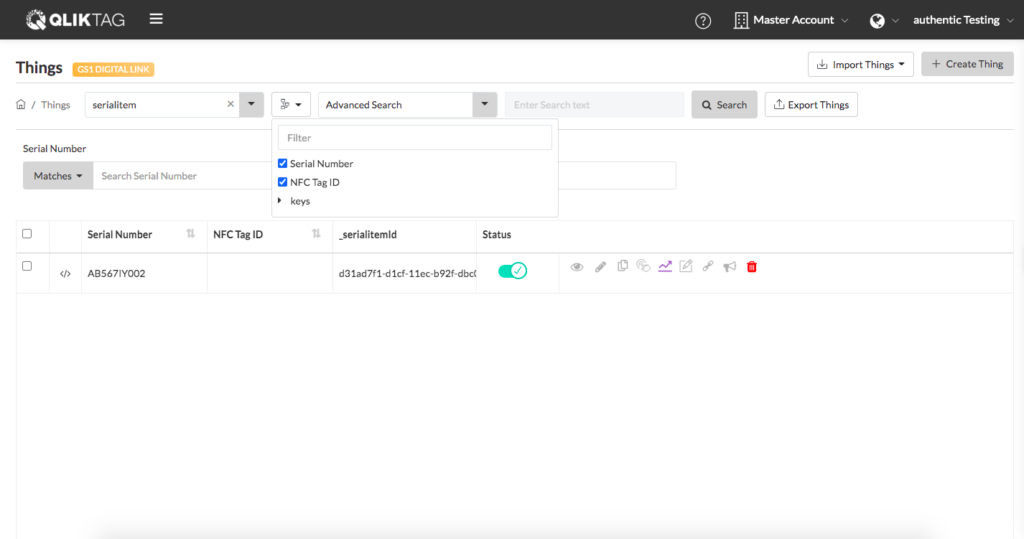
Now from the “Things” section screen, click on the “Select Entity” dropdown once again and from the dropdown, select “Serialitem” as the Entity.
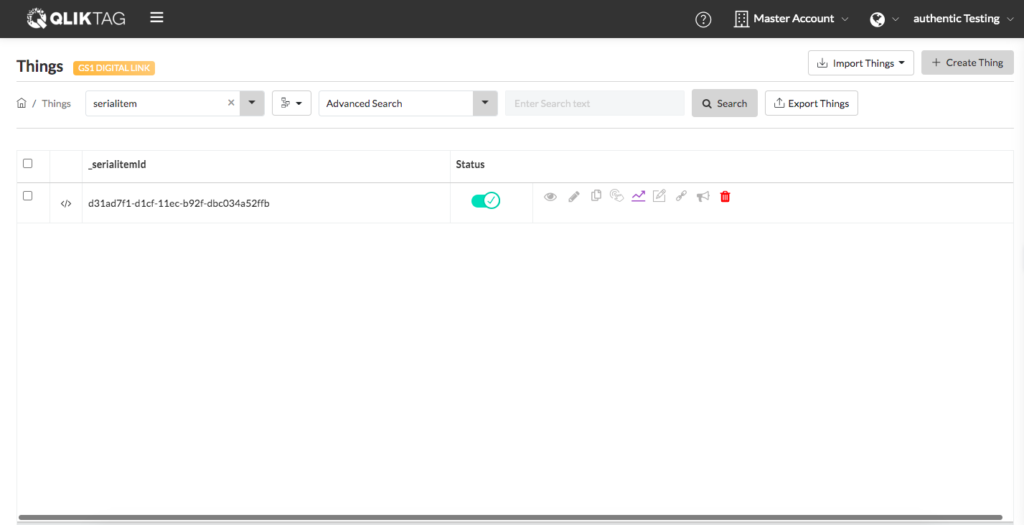
This will bring up Serial Items or individual instances of a Product SKU that you would like to authenticate. Eg. If Vectoros Crunchy Breakfast Cornflakes is our demo Item SKU, we may manufacture 1000 boxes of the same item each with it’s own unique serial number. These individual items / instances would be added under “Serialitem” entity. You should see 1 serial item added as part of the pre-loaded configuration.
You can click on the “Select attributes” dropdown to select “Serial Number” and “NFC Tag ID” attributes so that they appear in the table.
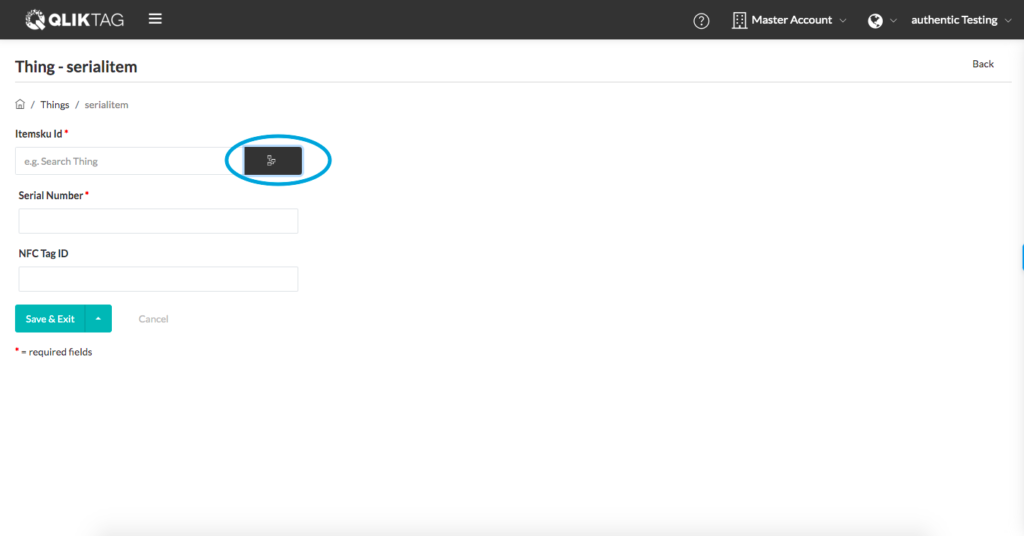
Let’s assume we want to test 2 NFC tags and have 2 serial instances of the Vectoros Cornflakes product. To add another serial item, click on “Create Thing”
Note: This part of the process is optional. If you don’t want to add a product and simply use the existing serial item that has already been created and encode a single NFC tag to test, you can skip this part of the process involving creation of a new serial item.
The ItemskuID field is a field that associates this serial instance with it’s parent product SKU. To create this association, click on the “Attribute selector” icon on the right of the field.
When the “Select a Thing” pop-up appears, select the “Attribute Selector” drop down, select “GTIN/EAN/UPC/Barcode” and “Item Name” attributes so that you can view these in the list that appears within the pop-up. In this case, we want to select the Vectoros Crunchy Breakfast Cornflakes demo product by checking the box beside it. However, if you have added other products and you want to create individual serial instances under those products, they will appear here too and can be selected.
The Itemsku Id is automatically populated based on your selection of the associated product. You can then add the serial number for your product. If this is for test purposes you can make up any serial number that is unique, alphanumeric and below 20 characters in length.
At this point, you do not have the “NFC Tag ID” which is also known as the “Tag UID” within an NFC Tag. This is a static number found within every NFC tag called the UID which is unique and used to tie an individual tag to an individual serial number within the Qliktag Platform so that only registered tags within the system be validated. If you have the UID of the Tag, you can add it in here. Otherwise leave this field blank for the time being and you can come back to enter this while encoding the tag.
Click on the “Save & Exit” button to save your edits. A new “serialitem” would have been created and direct you to the serialitem search page with the results and the new item appearing within the table.
Next Chapter>>
