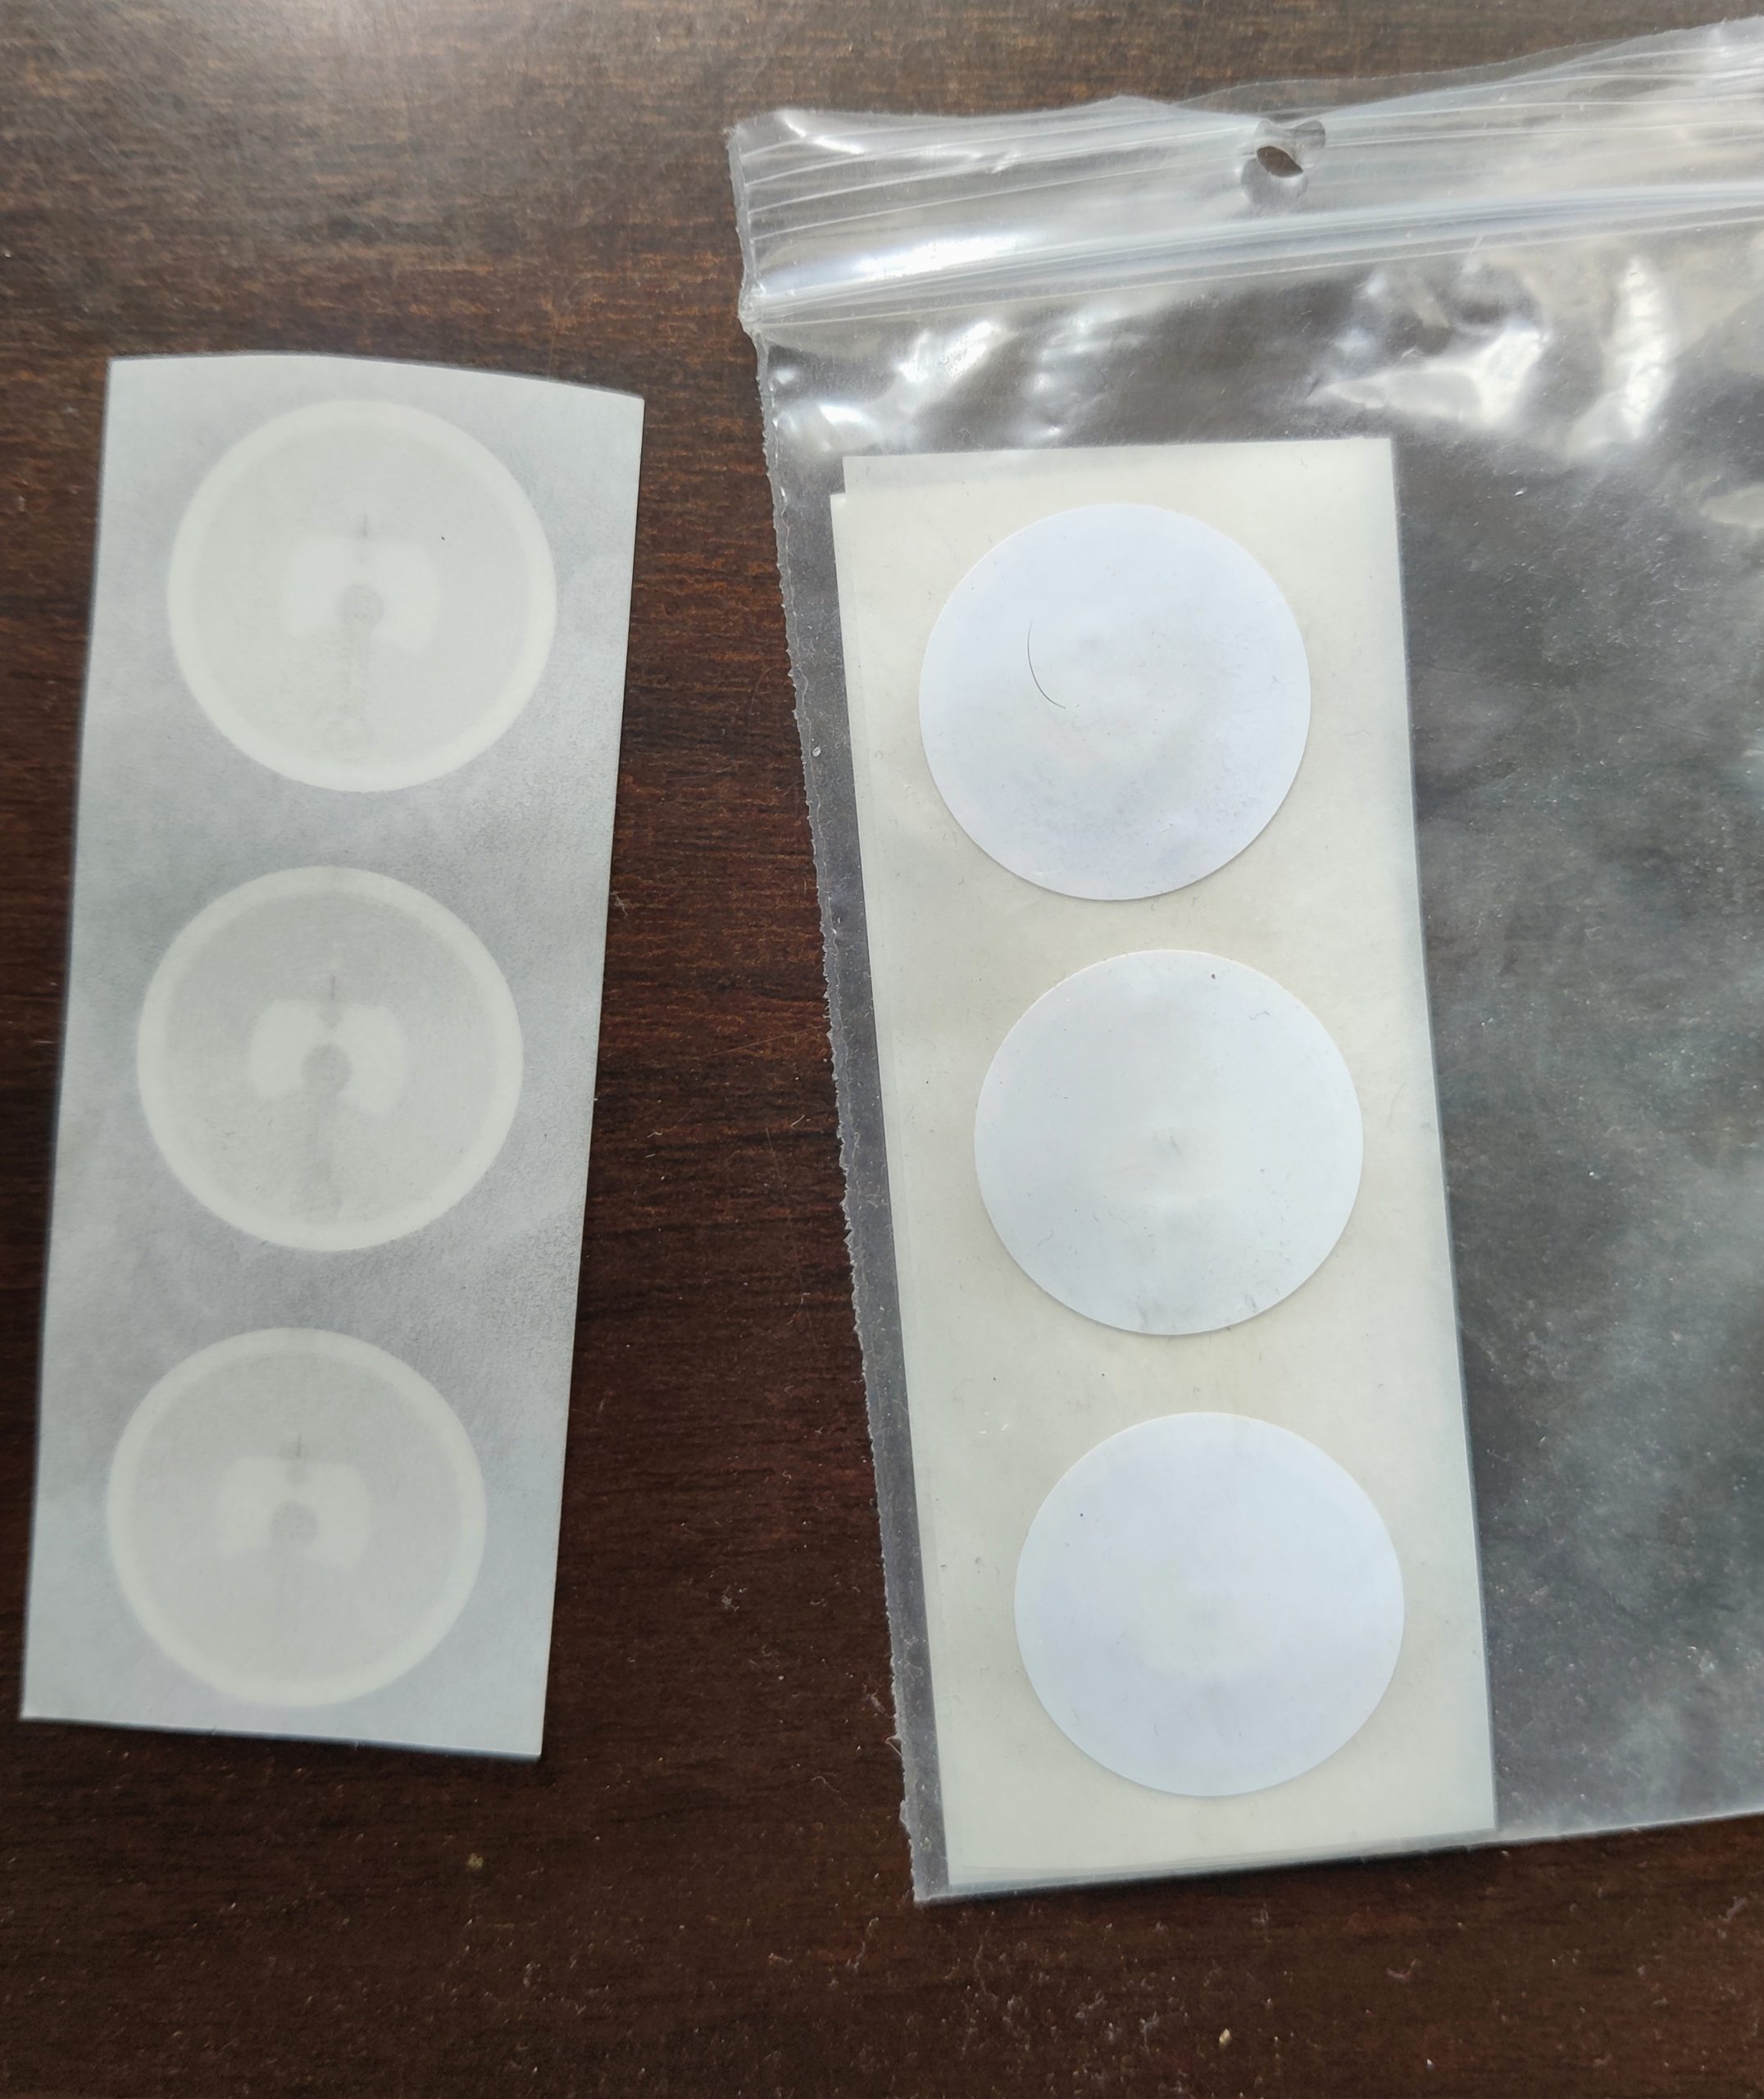
Keep your NTAG 424 DNA NFC tags handy.
Step 29
On the main page, click the “Write Tags” option.

Step 30
Select the “My datasets” option.

Step 31
Select the dataset you have configured. The latest dataset created would appear at the top.

Step 32
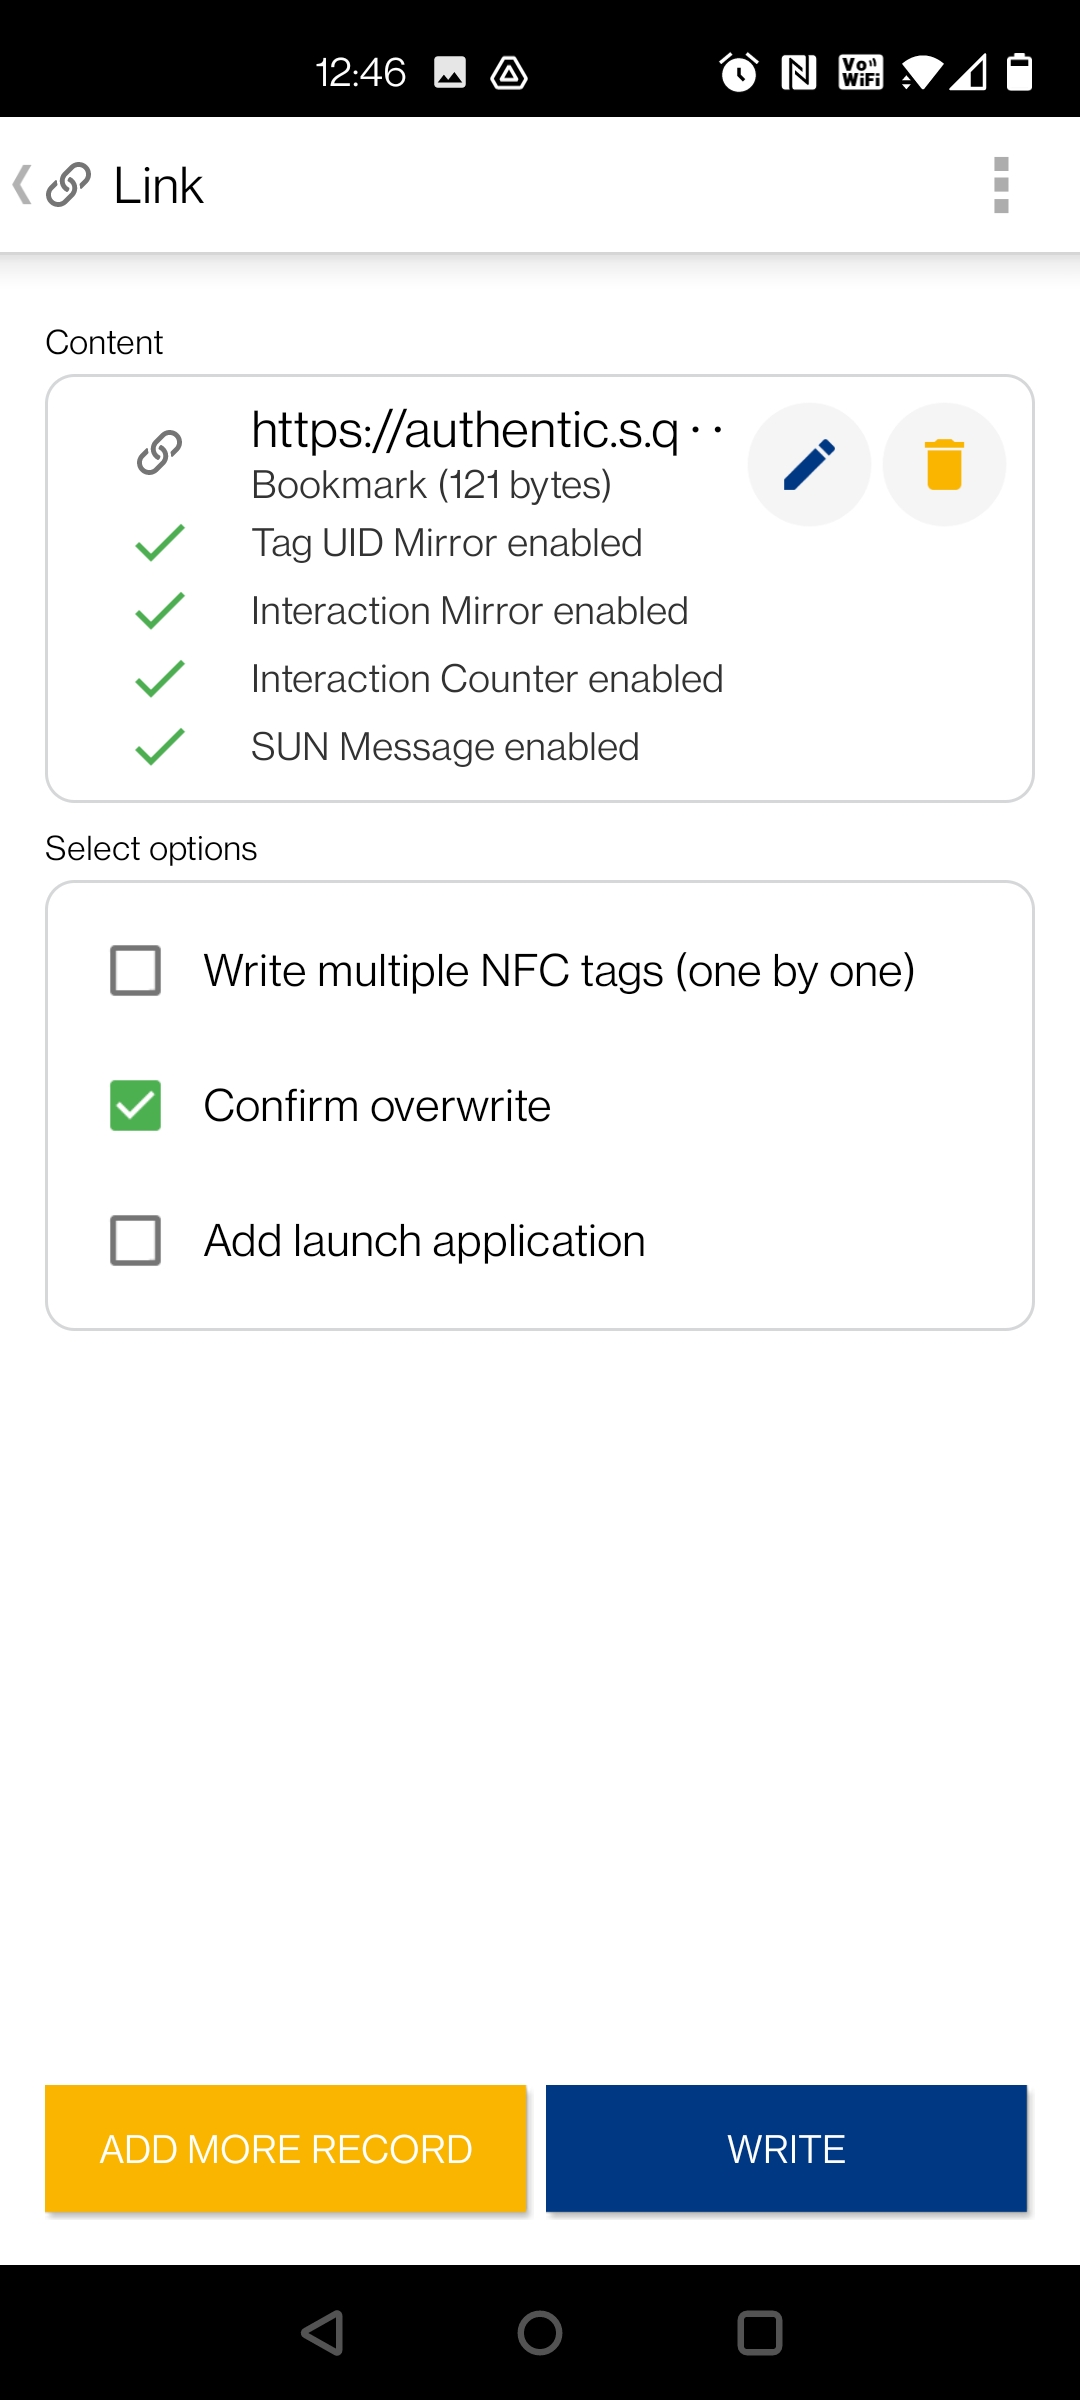
The settings should appear as below with the “confirm overwrite” option checked.
Step 33
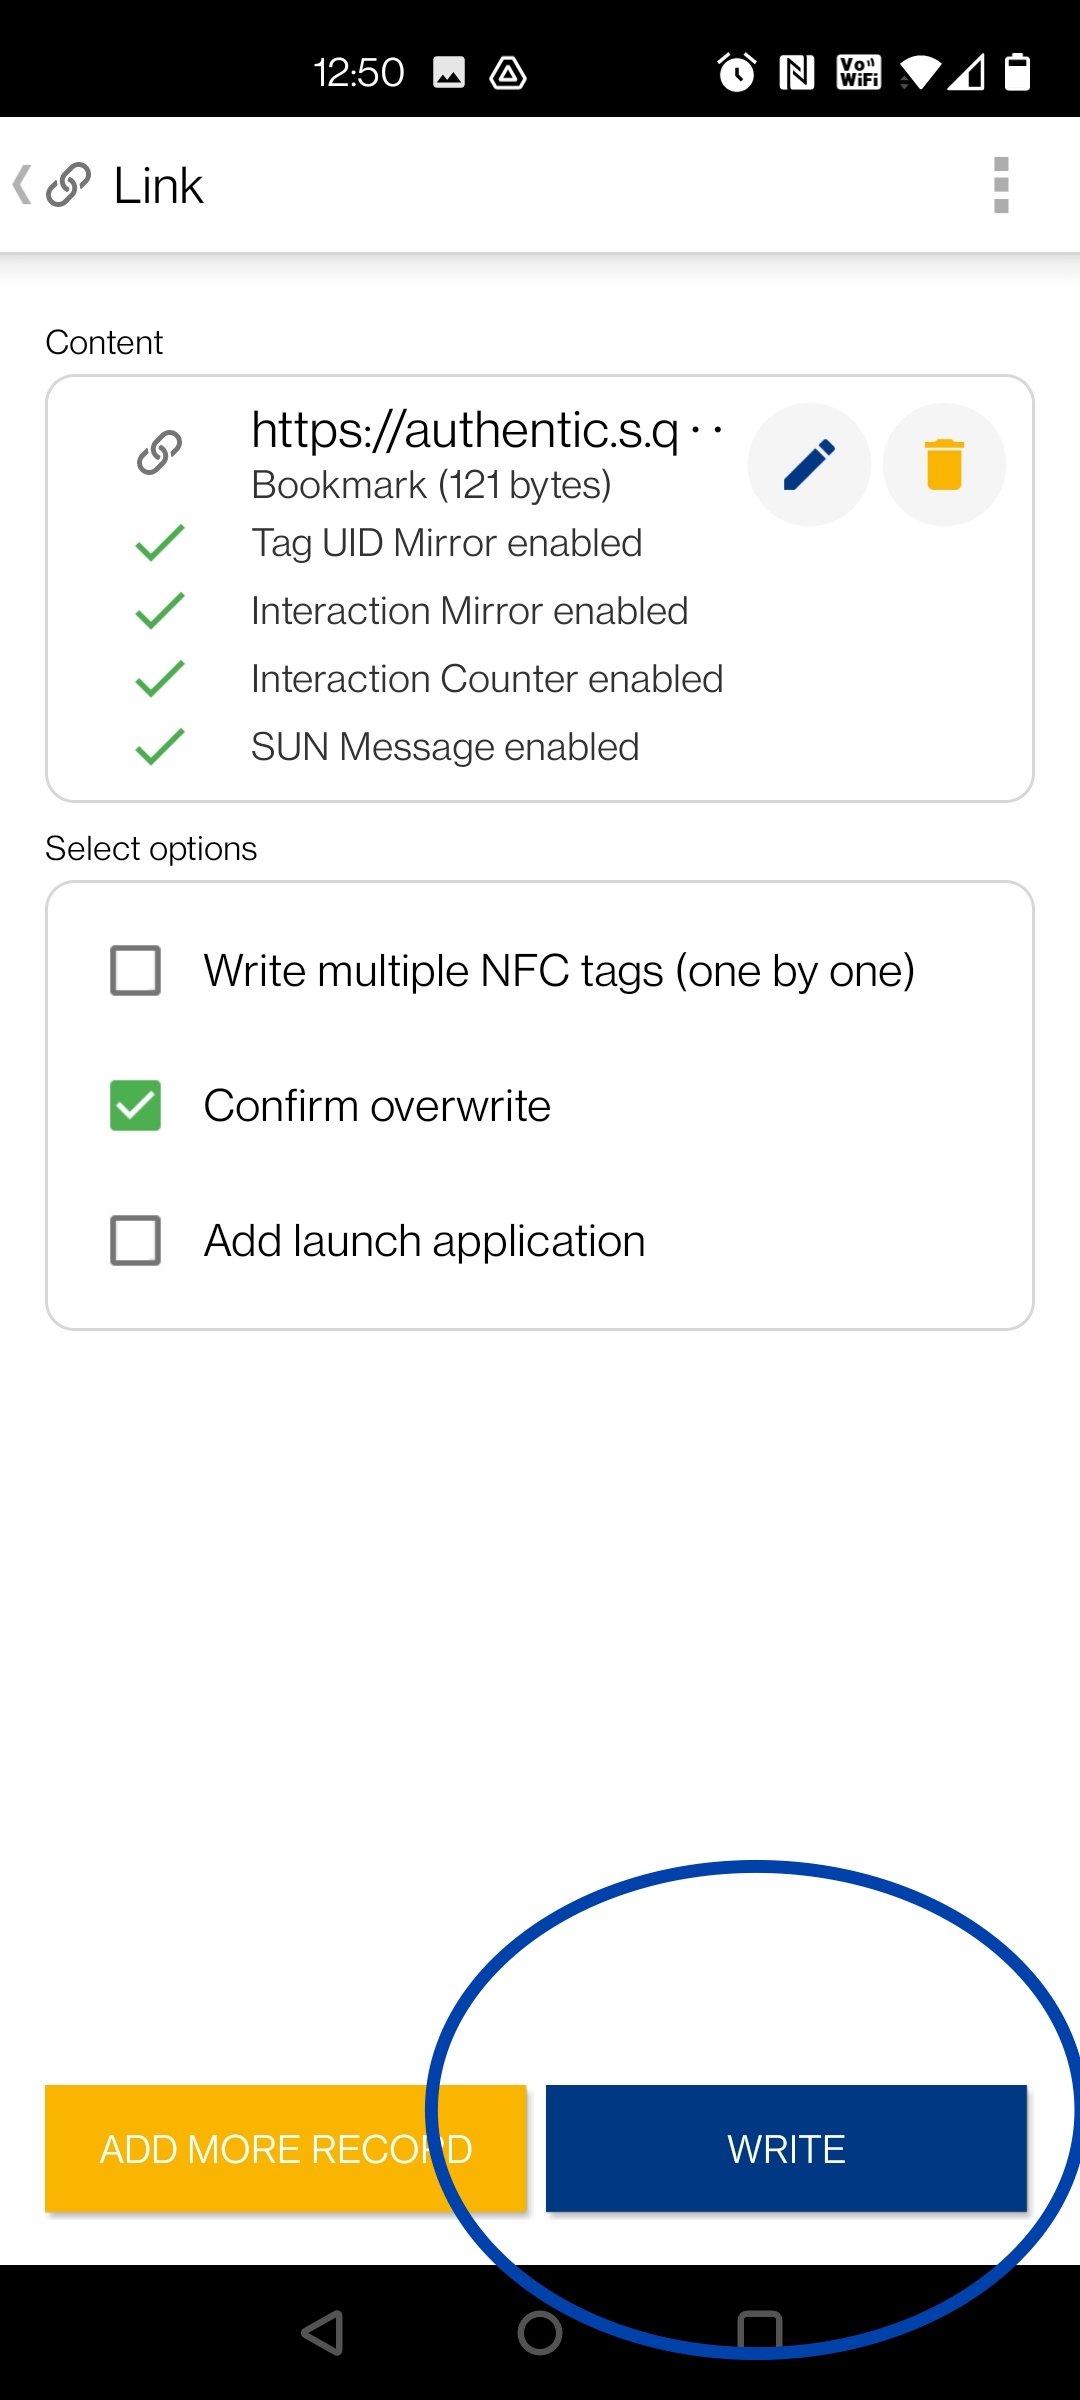
Click the “Write” button.
Step 34
Hold your smartphone over the tag or place the tag on a flat surface and keep your phone on top of the tag so it detects and reads the tag. You should hear a sound when the tag has been detected.

Step 35
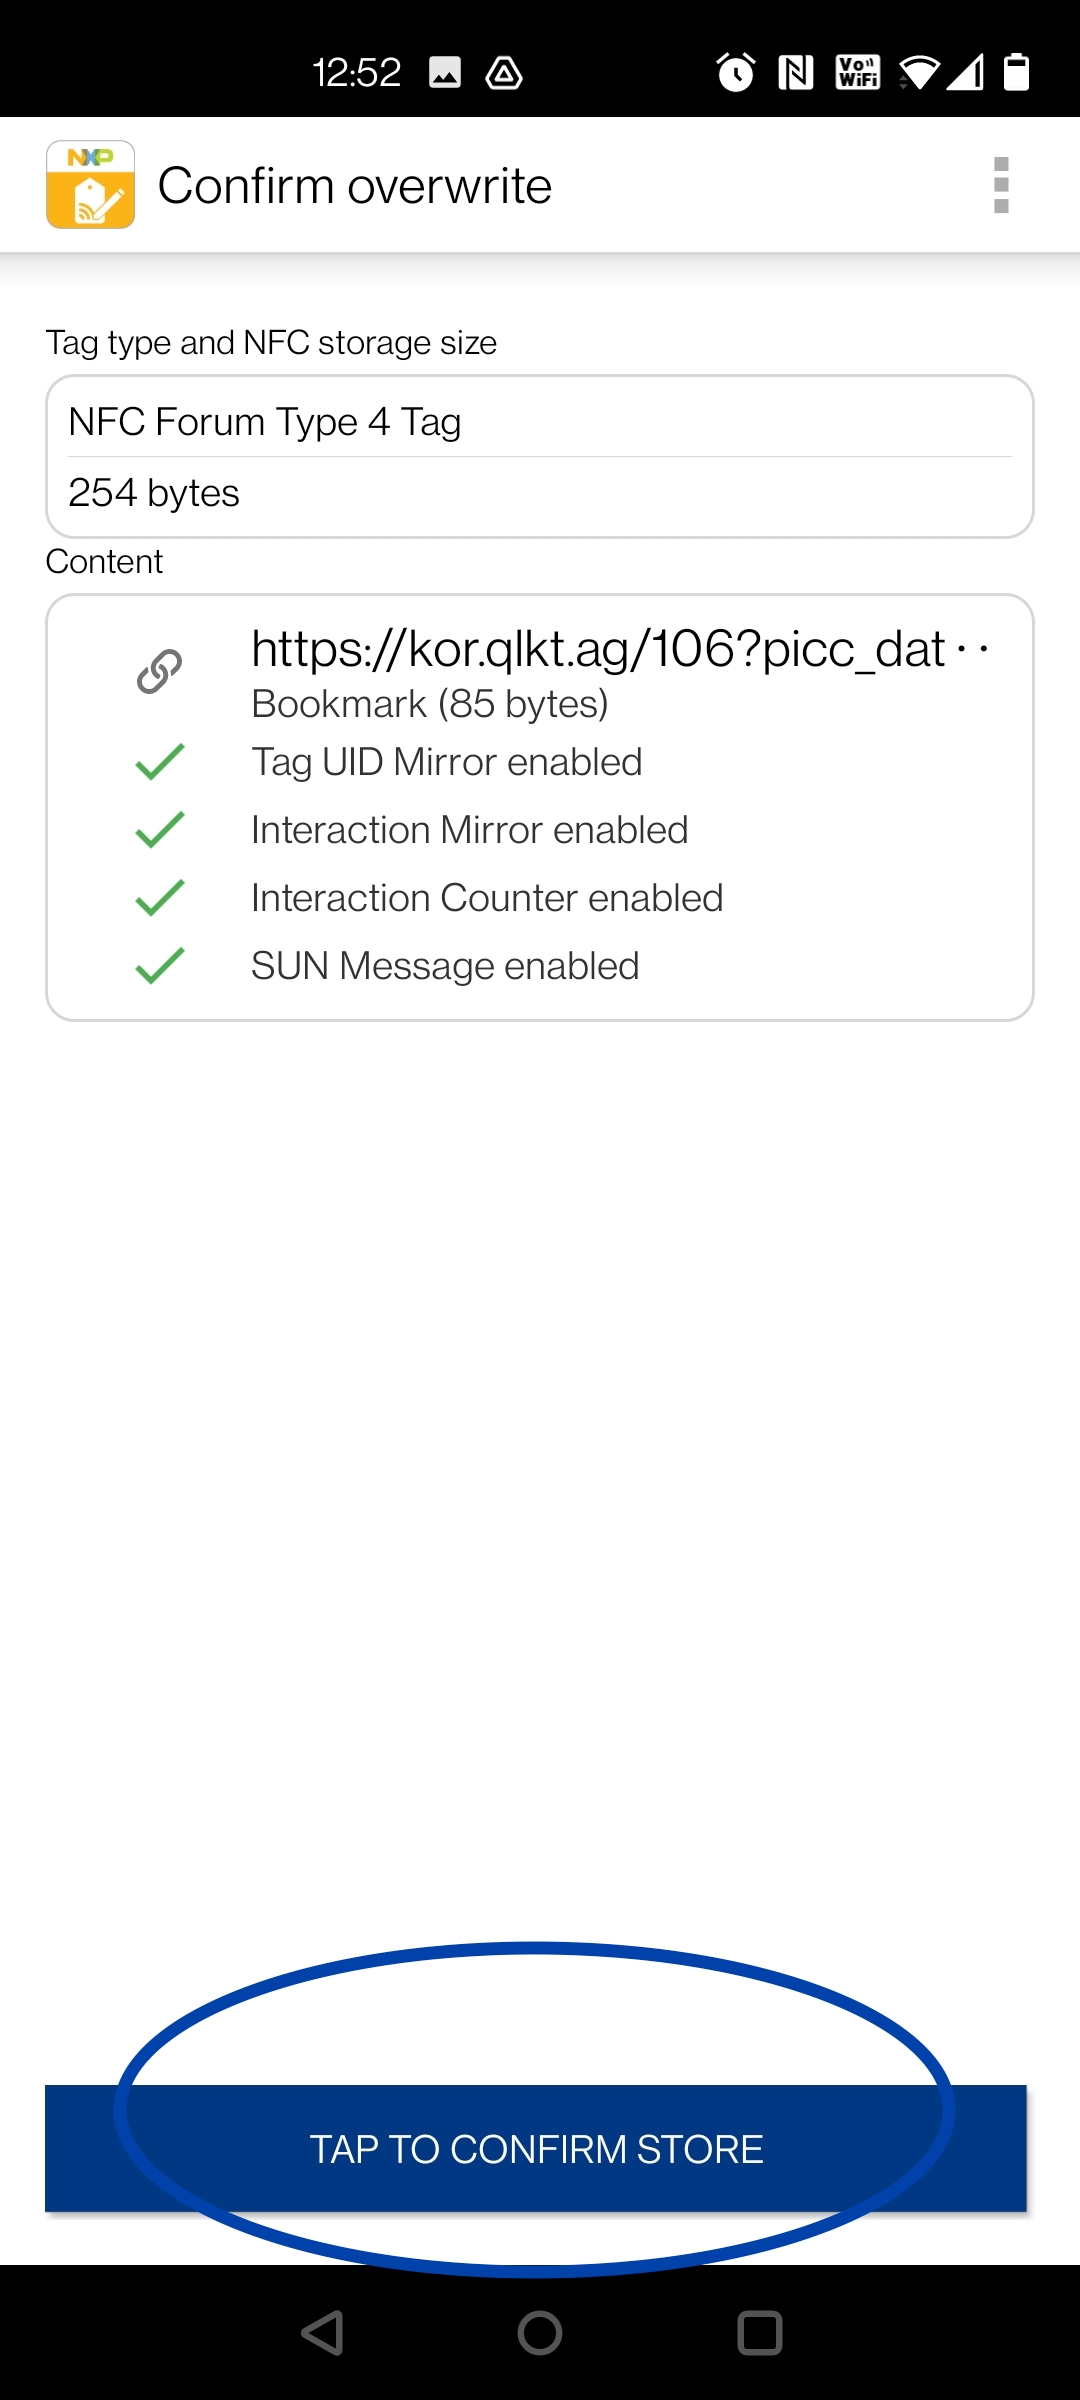
This will appear if the tag has been properly detected and the app is ready to write. If your tag is new and doesn’t have previous content, it will show no previous content on the tag.

Step 36
Click on “Tap to Confirm Store”
Step 37
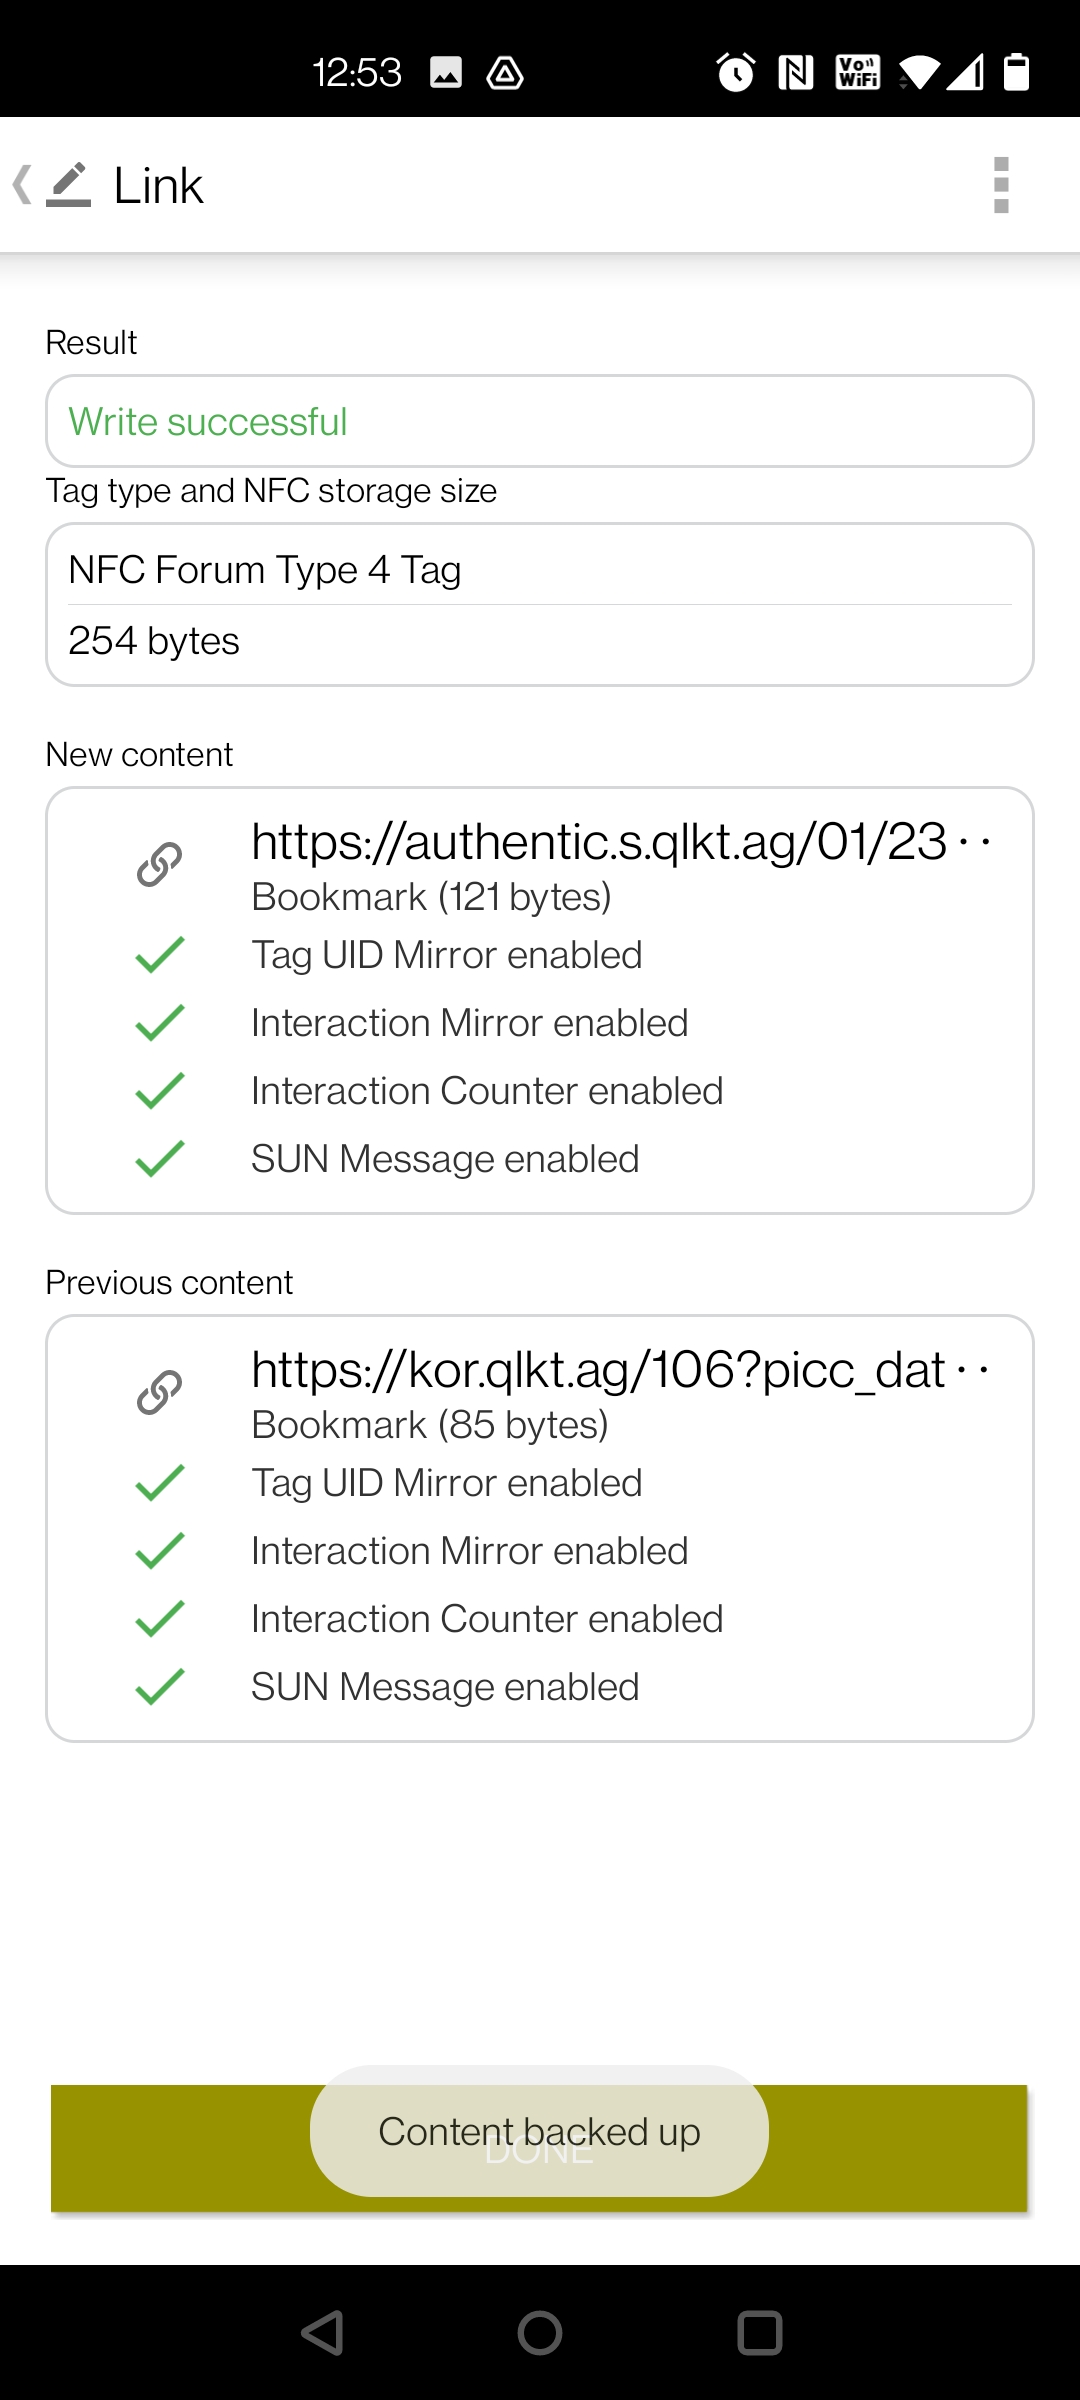
If the write is successful, the “Result” section will display “Write successful”. You can then click on done. Your tag is now encoded and ready for use.
If the write fails, place the tag under the phone, adjust the position of the phone and try again. Or, retrace the steps to see what could have gone wrong.
Once completed, close the TagWriter app so it is no longer active before you test your tag.