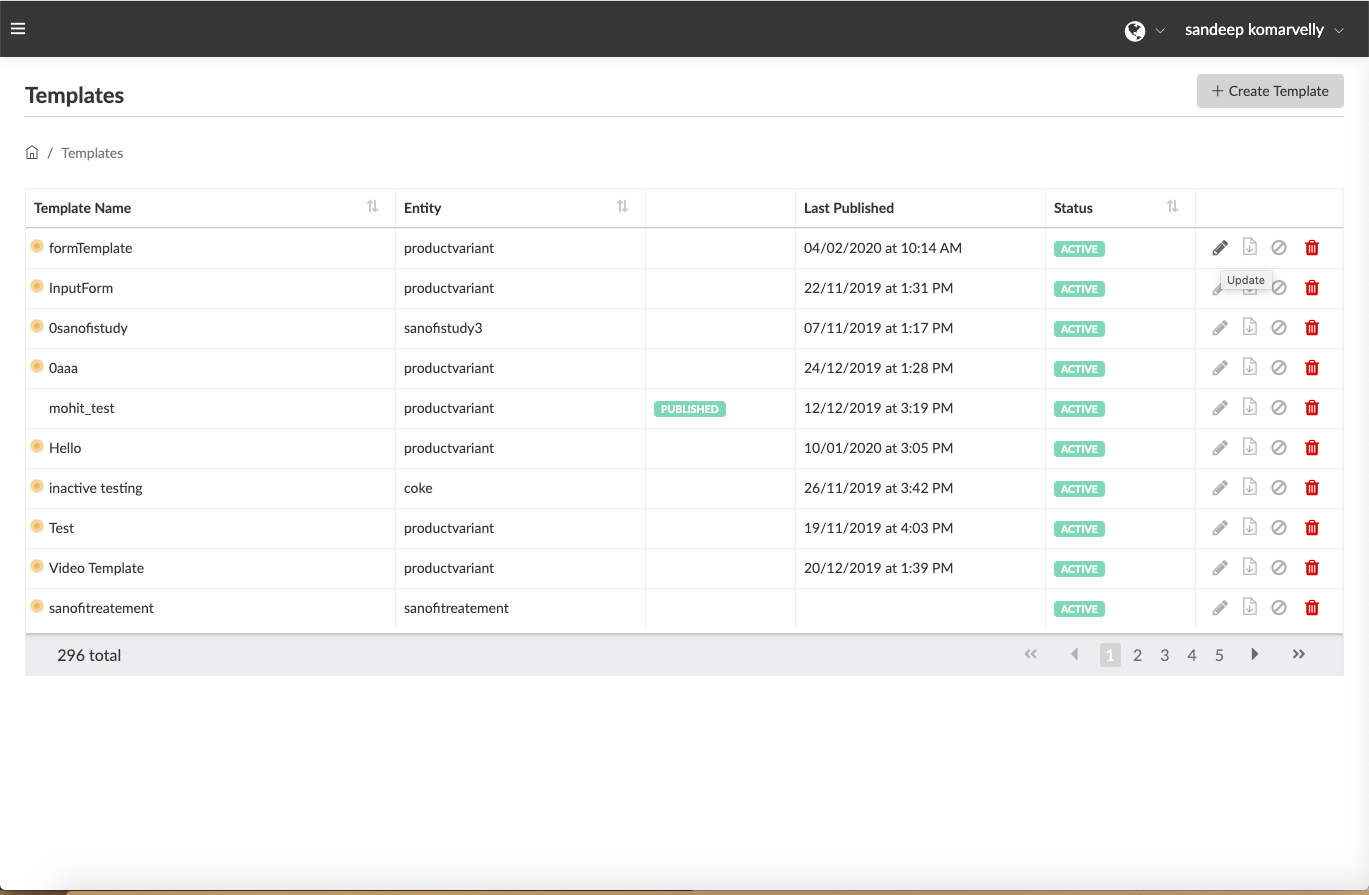
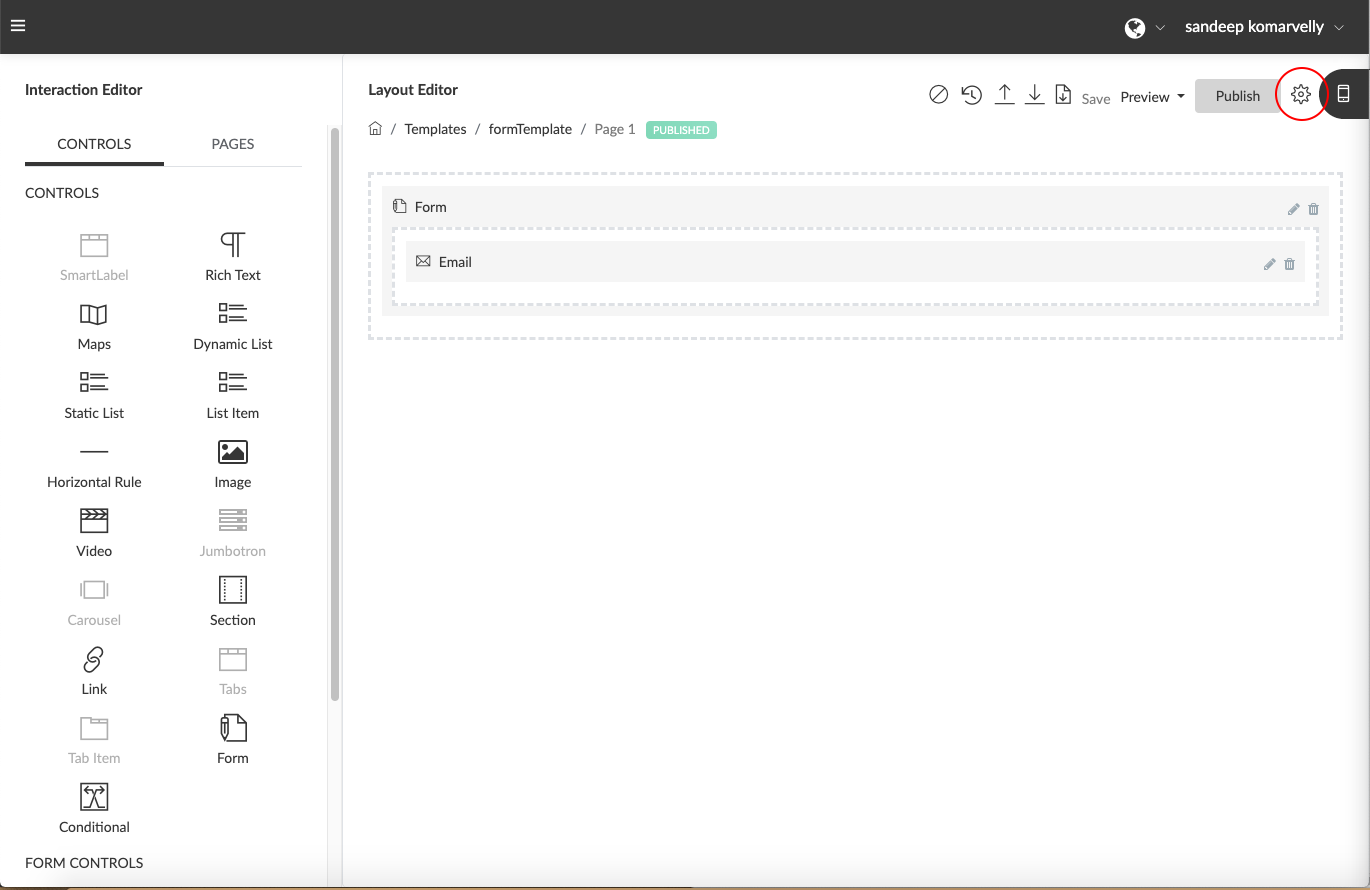
Click on the “Update Template” Pencil icon to open up the “Template Properties” panel. You can update or alter your template configuration properties at any time through this section.
(Note: The exception here is for “Entity” that a template is connected to. This can not be changed or edited). The settings that can be configured at a “Template” level include:
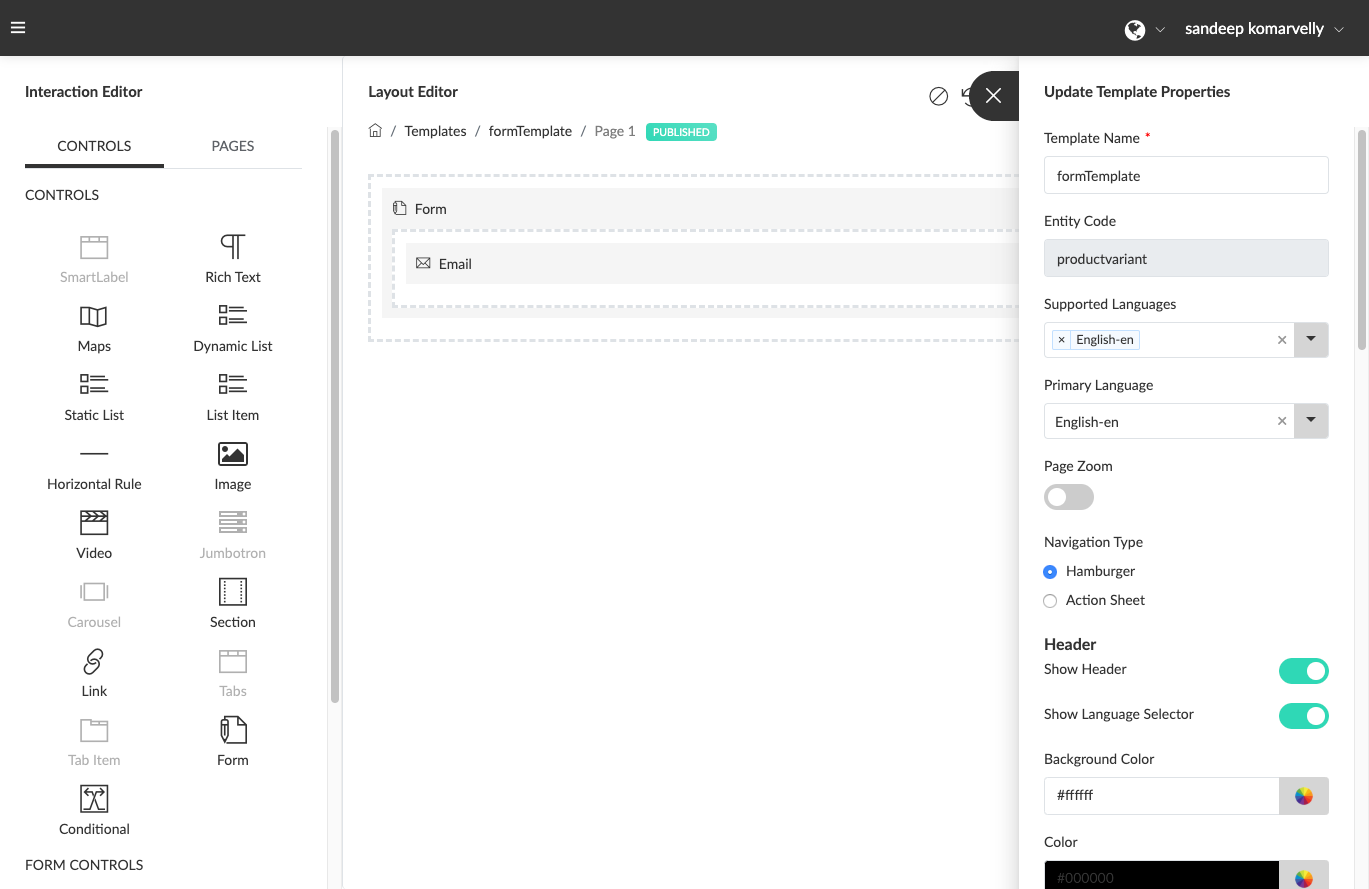
- “Template Name” – Click on the field and edit as required. (Note: this will not impact your associations with Things or Entities your template is already connected to as the system uses the Template ID to make those connections).

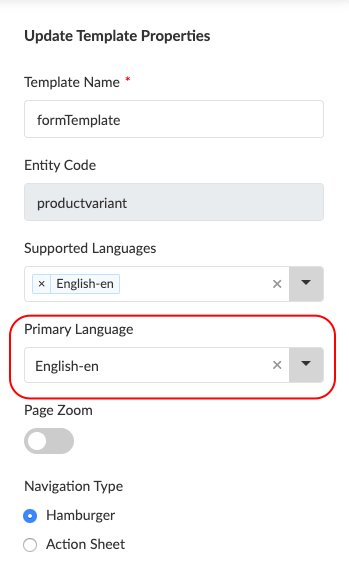
- “Supported Languages” – Click on the multi-select field and select the language / languages you would like this template to be enabled for. (e.g. If you have selected English, French, Ducth, Chinese, Arabic, Spanish and Korean, you will be able to configure multi-lingual controls and add values within your template in these languages) (Note: if the language you wish to make your template available in is not available, contact your system administrator as they would have to enable these languages within the master list of languages in the “System Settings”)

- “Primary Language” – Click on the dropdown box to select a single “Primary Language” that your template would default to. A Visual Interaction will load based on an end users device preferred language and also allow them to select a language of their choice. However, if their language of choice is not available, the template would default to the “Primary Language” selected.
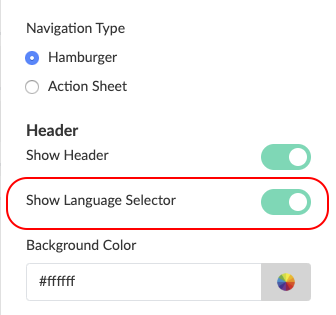
- “Show Language Selector” – Toggle this option to the “ON” position if you would like your “Visual Interaction Template” to display a language selector dropdown in the header section of your template.
- “Page Zoom” – Toggle this option to the “ON” position if you would like your “Visual Interaction Template” to enable the pinch and zoom feature supported by most mobile web browsers.
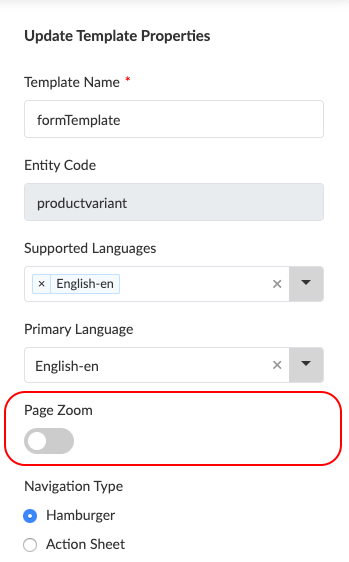
- “Navigation Type” – Select the page / menu item navigation style that suits your requirement from the available options.

- “Background Color” – Select the background colour, from the colour palette that suits your requirement.
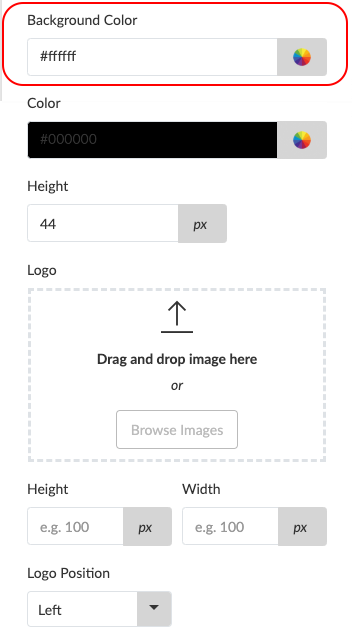
- “Colour” – This will enable you to select the Colour from colour palette for the Title

- “Height” – This will enable you to set the height of your Title.

- “Logo, Height, Width, Logo Position” – This will enable to Drag and Drop or upload the logo in your device image as per the requirement, also height, width and logo position can be set.

- “Background Image” – This will enable to Drag and Drop or upload the background image as per the requirement.

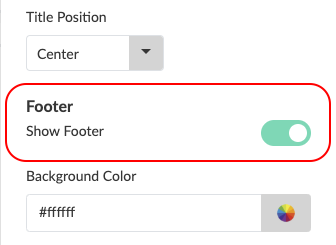
- “Title and Title Position” – Enable you the set the title and its position example, left align, right align or center

- “Footer” – Footer Toggle button controls if you wish to show the footer image
- Click the “Submit” button to save your settings.
