- Within the “Templates” screen, click on the “Template Name” link for any template you have previously created within the system. This will bring up the “Interaction Editor” screen. If you have just created a new template, you will be automatically redirected to this screen.

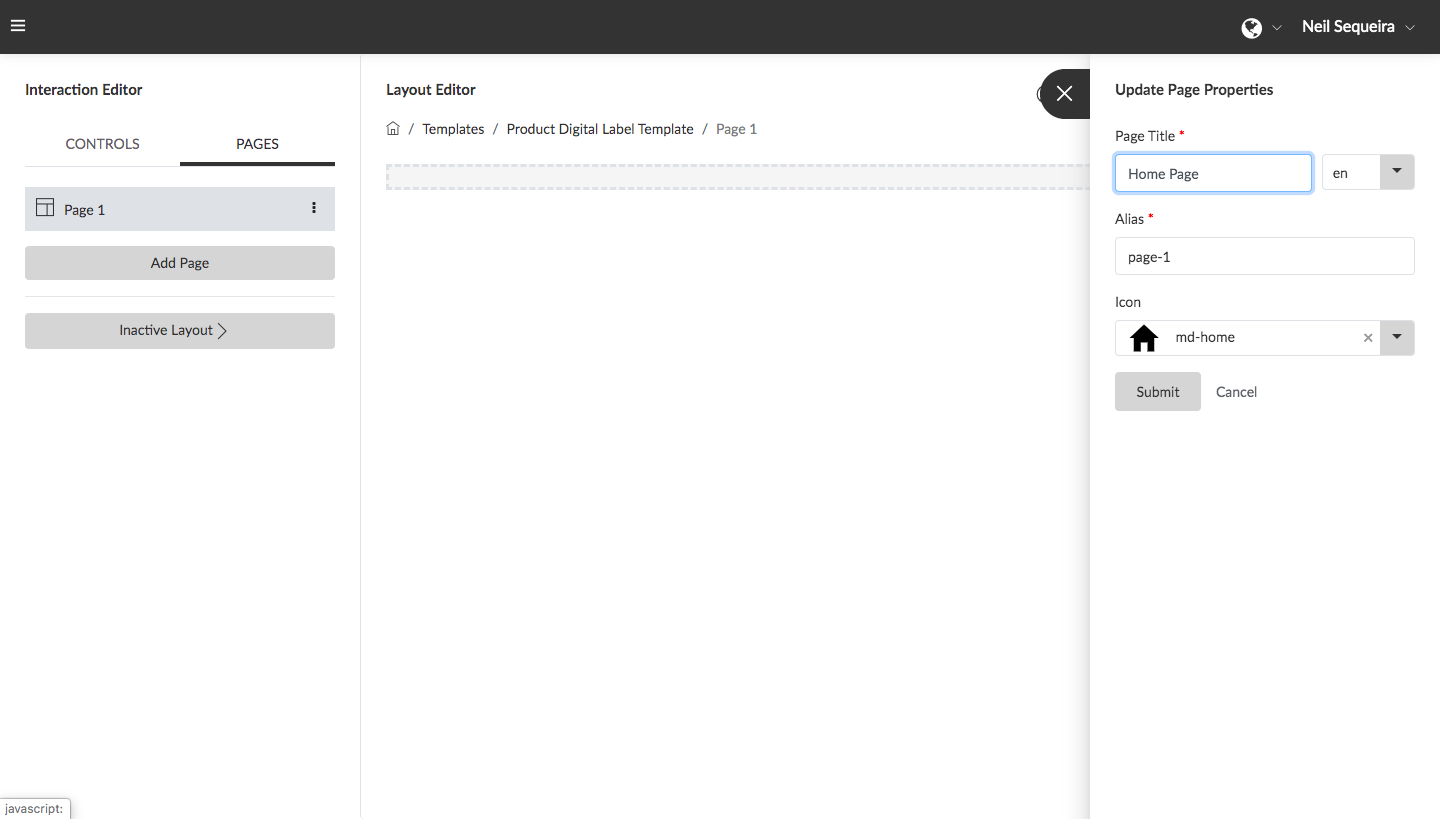
- The “Layout Editor” will display your first page named “Page 1” by default allowing you to start creating the first page of your template. To change the name of this page, click on the “Pages” tab and select “Edit Page”. The properties slide out will appear allowing you to change the “Page Title” field value (e.g. ‘Home’), set a “Page Alias” without spaces or special characters and select an icon for this page from a library of icons. The icon selected will show within the template navigation beside the name of the page / navigation option. Click the “Submit” button to save your changes and return to the editor. The “Pages” section can also be used to add additional pages to your template by clicking the “Add Page” button.

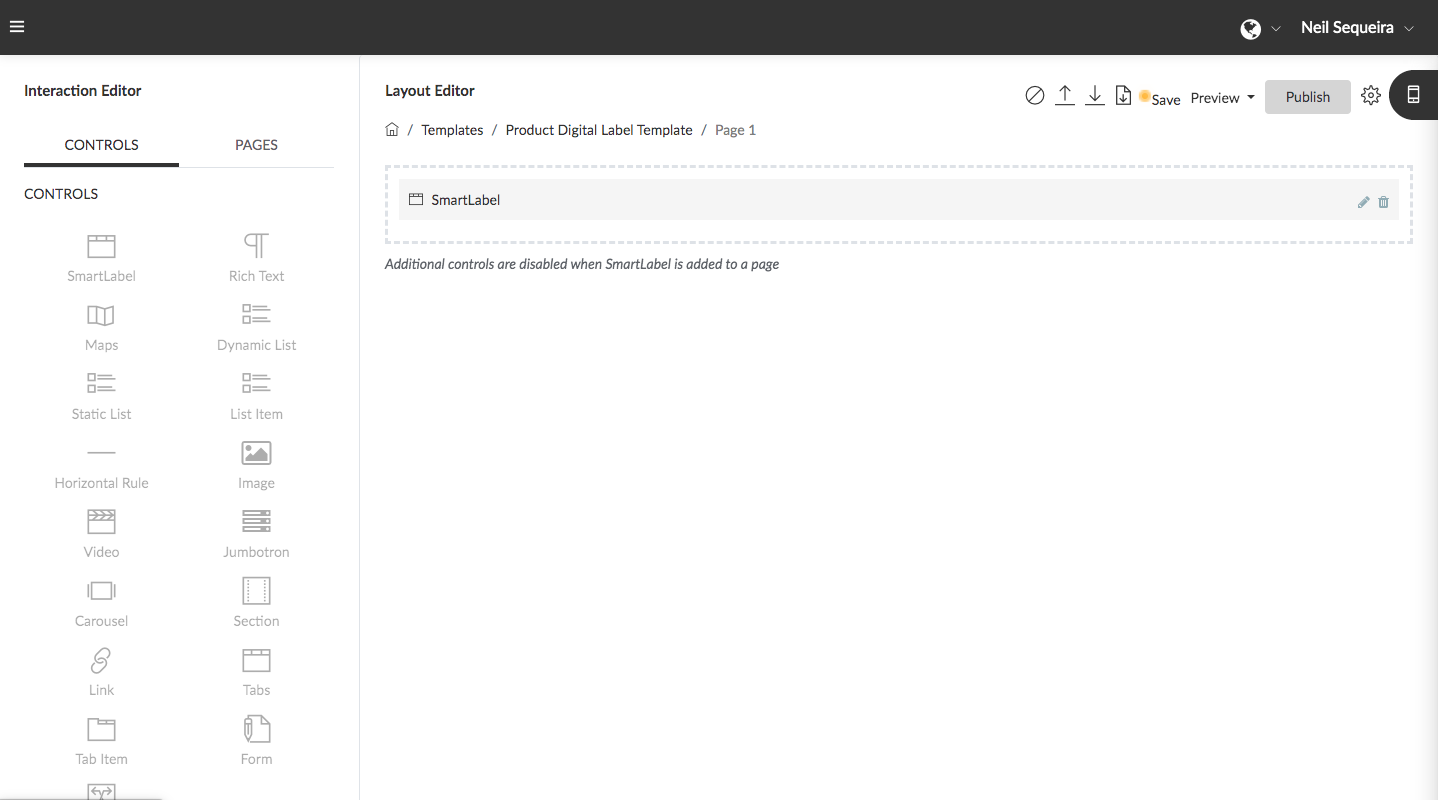
- Click the “Controls” tab on the left menu section and drag any of the controls you wish to incorporate into your design from the menu into the box within the “Layout Editor”. Controls which have been dragged into the “Layout Editor” can be deleted, reordered or configured and setup by clicking the “edit” pencil icon on the control to bring up the configuration and properties panel.
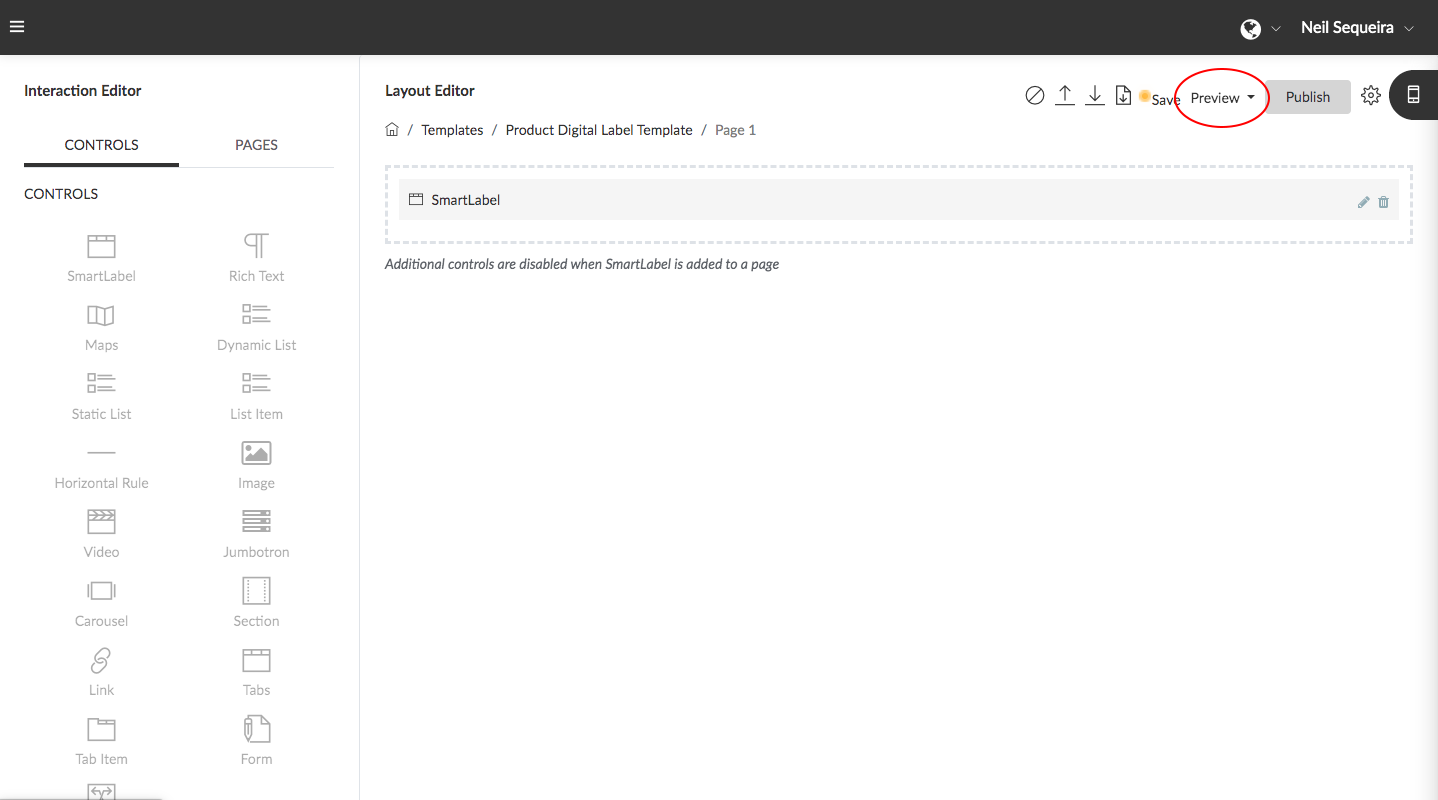
- At any point during the design and configuration process, click the “Preview” tab to see a preview of your template design and make adjustments as required.
- Continue the process by dragging and configuring as many controls as you need into your page and then click the “Save Draft” option to commit your layout changes and save your progress. (Note: clicking “Safe Draft” does not make your template & page live publicly over the internet. It only commits changes to your layout so you can return to your template at anytime and continue working on it from where you left off.)
- You may click on the “Pages” tab to add more pages to your design and drag controls into those additional pages. Please ensure you click “Save Draft” to commit and save your design and layout changes.

- Finally, once you have completed your design, reviewed everything and are ready to make the template live and publicly accessible over the internet, click the “Publish” button, confirm you are sure you would like to go live with your changes and your updated design will go live the template status will appear as “Published”.
