To enable the use of push notifications, they first have to be activated at the Digital Interaction Template level. Click on “Visual Interaction Templates”

Select the template you want to enable notifications for and click the pencil icon to edit / update the template.

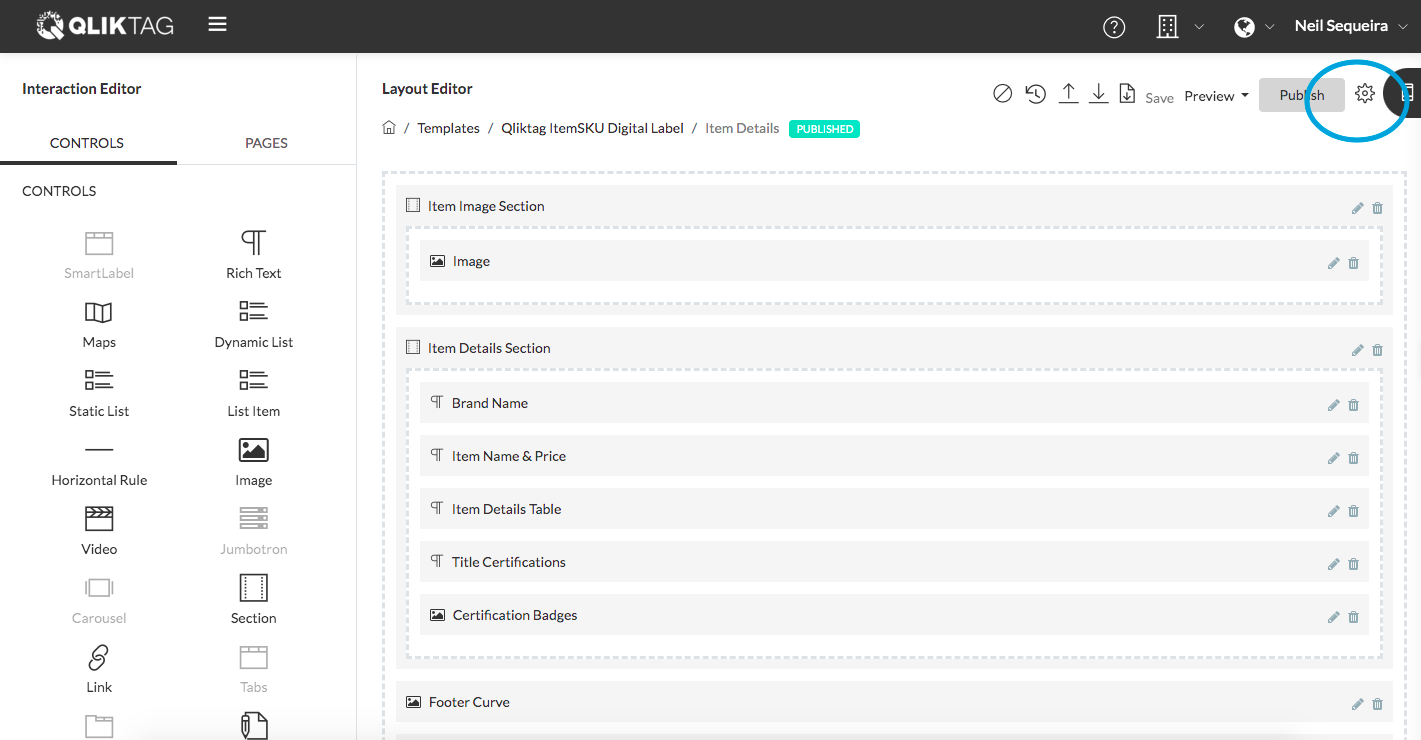
Click the “Update Template” icon on the top right to bring up the main template properties and settings.
Select the “Advanced” tab within the template properties section.
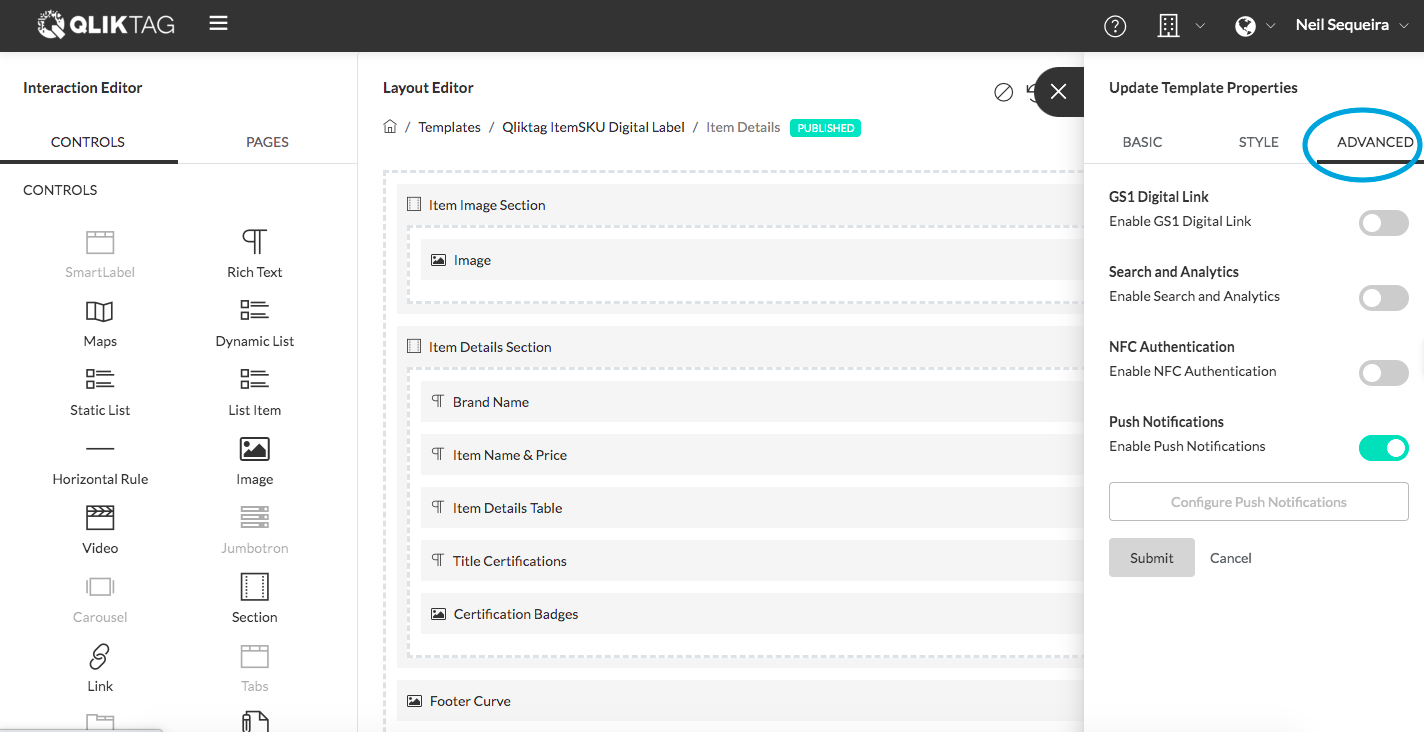
Scroll down to the “Push Notifications” property and toggle the switch so it is turned on to enable push notifications.

Click on the “Configure Push Notifications Button”. This should bring up a pop up window with the configuration settings.

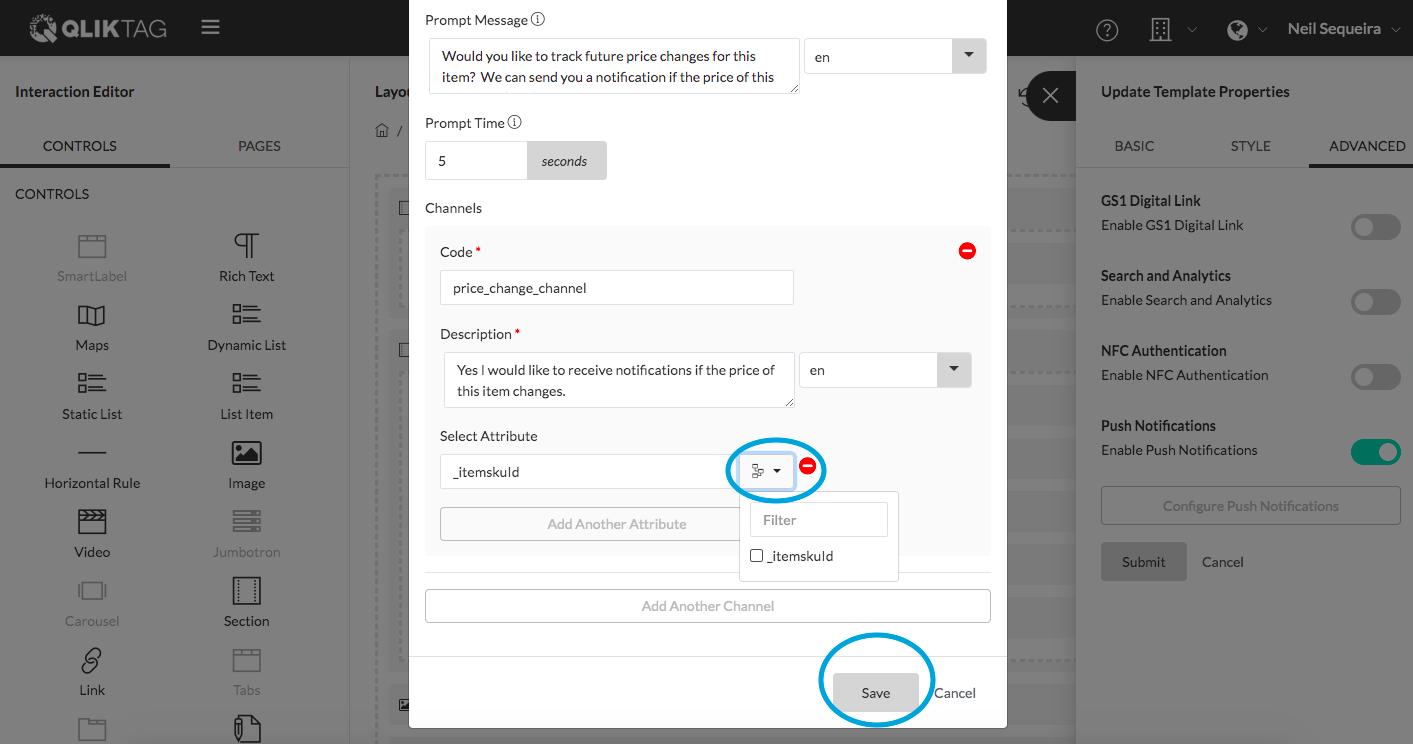
Compose a “Prompt Message”. When a user brings up an interaction with this template, a notifications pop up will appear prompting the user to subscribe to future notifications about this “thing”. The “Prompt Message” is the first message that will appear here and should explain to the user that you would like to send them notifications also explaining why you would like to send them notifications and what kind of notifications they can expect to receive if they accept and subscribe.
The “Prompt Time” setting determines how many seconds the template / interaction page will wait before displaying the pop up with the message about wanting to send notifications.
A channel is essentially a topic / subscription for which someone receives notifications about. The end user will subscribe to this channel. However, the channel code is for internal purposes and will not be displayed to the end user.
Give the Channel a “Channel Code” ensuring there are no spaces or special characters used in the name.
The Description field should be filled in with a message that will appear alongside a check box that an end user will have to check in order to subscribe to the channel. Example text “Yes I would like to subscribe to notifications about this product”.
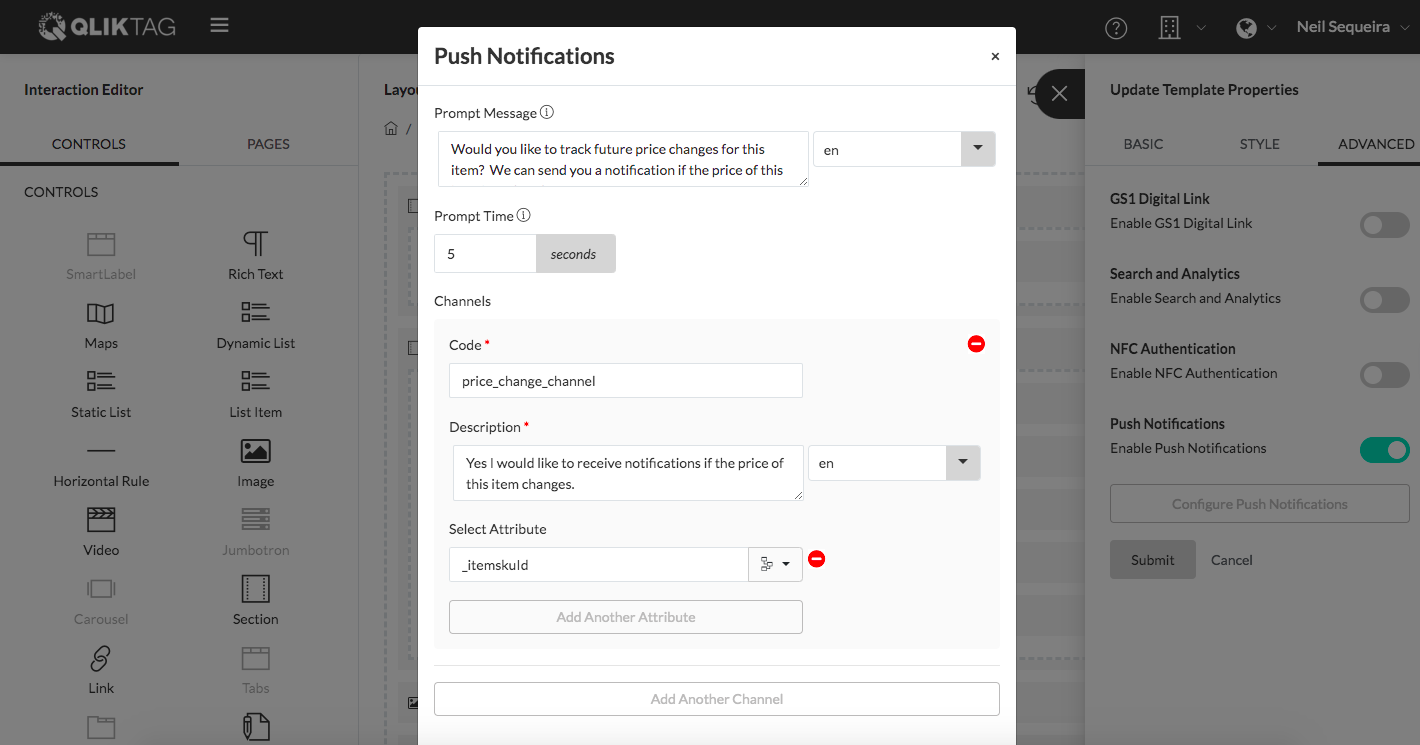
Select the “Attribute” for the thing for which this channel will be associated. This can be done by clicking the data attributes selection box icon and simply selecting the appropriate attribute. In this case, it is the itemsku ID. Finally, click the “Save” button to save the settings. The template is now enabled for push notifications.