1.1 Preparation
1.1.1 Install the driver
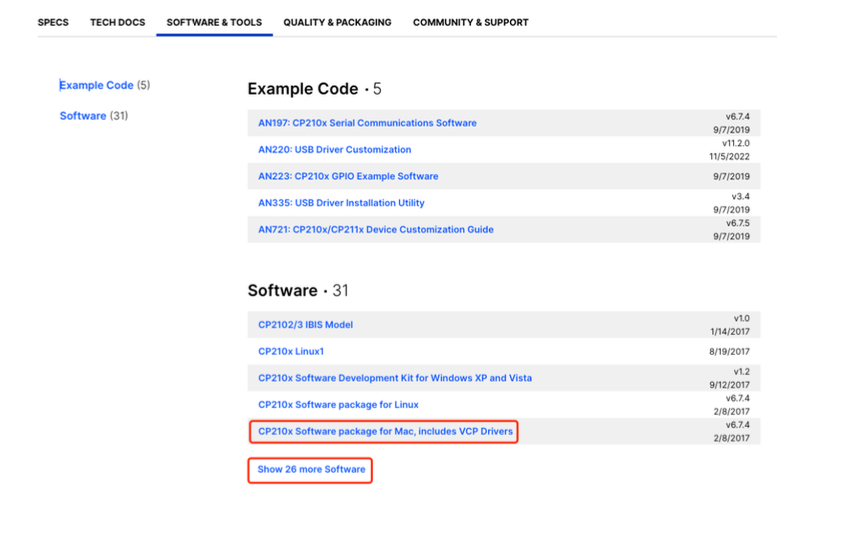
This software needs to be used with a device driver, please get the appropriate version from this website according to the device and operating system you are using the software with.
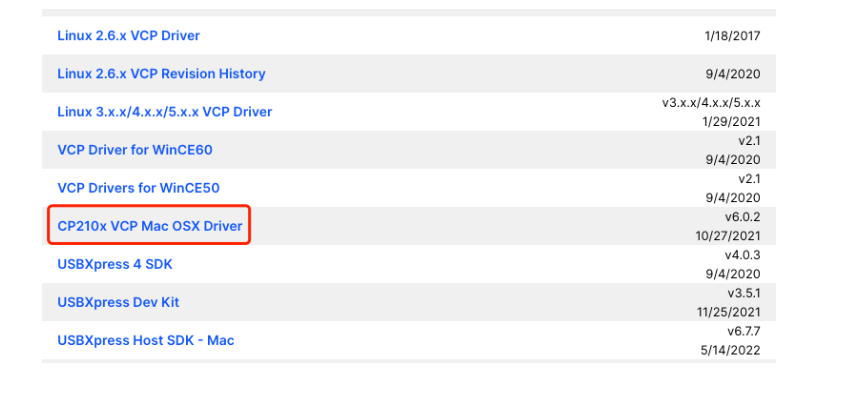
1.1.1.1 MacOS X
CP210x Software package for Mac, includes VCP Drivers
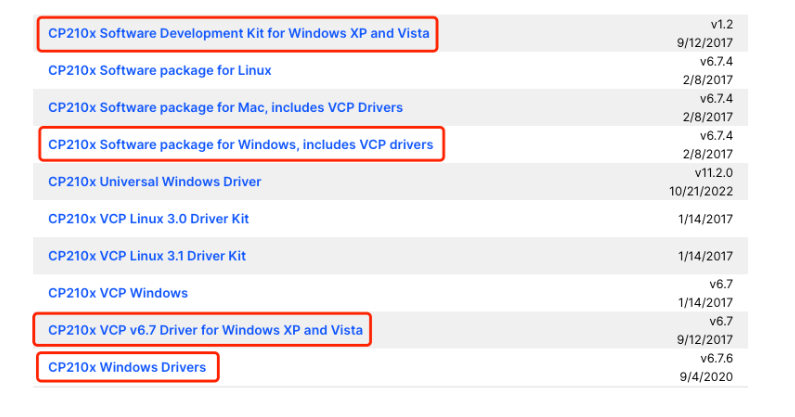
1.1.1.2 Windows
CP210x Software package for Windows, includes VCP drivers
OR
CP210x Universal Windows Driver
OR
And so on.
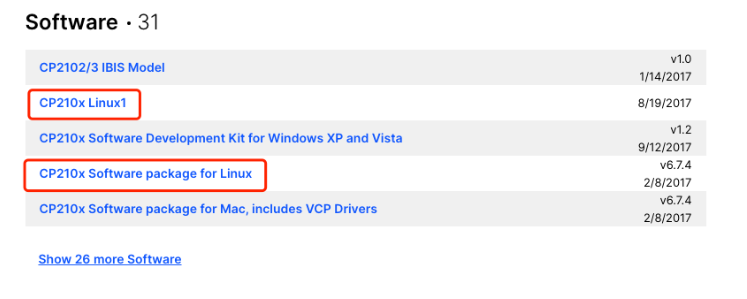
1.1.1.3 Linux:
In general, Linux comes with CP210x driver, the device can be recognized normally after connection; here is an example of Ubuntu (other versions are similar), according to the way in 1.1.2 can not be verified, then you need to install manually. Check the Linux version of Ubuntu by: sudo uname -a
Download the corresponding driver version from the official website according to your needs. After downloading and unpacking the .c file and make file file in the folder, open the terminal in the folder and execute the command: sudo make to compile the make file file.
After completion, the .ko file will appear in the folder.
Then execute: sudo insmod cp210x.ko, the driver installation is complete.
Ubuntu power-up automatically loads the driver module.
Copy cp210x.ko to /lib/modules/…/kernel/drivers/usb/serial folder; /kernel/drivers/usb/serial may be hidden, you can search for serial directly in the lib folder, where the dotted dots are your own system version. For example: “5.15.0-56-generic”, refer to the description of 1.1.2.
1.1.2 Verify driver
After the driver is successfully installed, connect the device and
check whether the serial port is properly recognized.
1.1.2.1 MacOS X:
Open a terminal and enter the following command:
ls /dev/tty.*
/dev/tty.Bluetooth-Incoming-Port /dev/tty.SLAB_USBtoUART
/dev/tty.usbserial-0001
If you find tty.SLAB_USBtoUART, the driver is installed successfully,
Congratulations.
1.1.2.2 Windows:
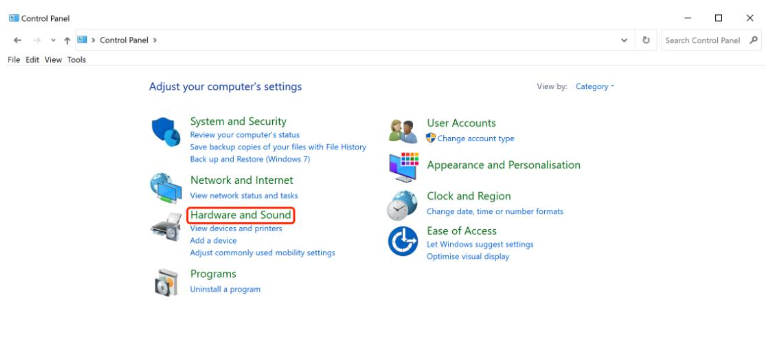
1.Control Panel –> Hardware and Sound
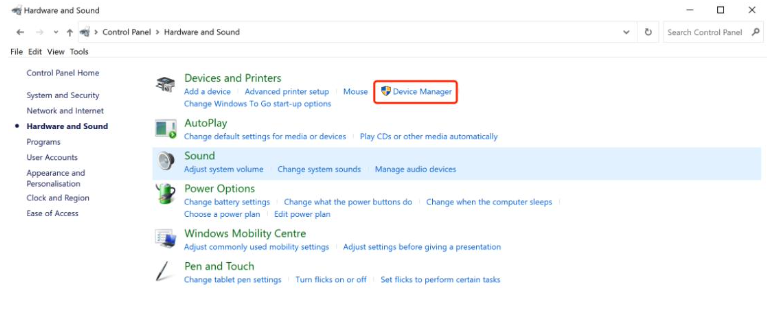
2.Device Manager
3. Find the COM
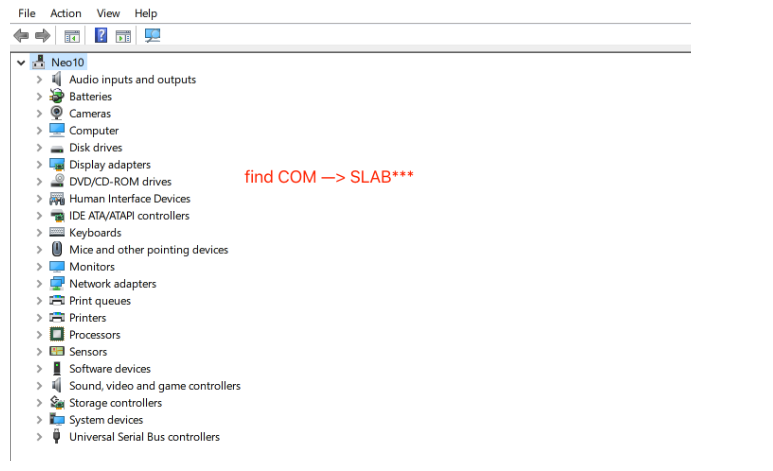
If you find the COM of SLAB, the driver is installed successfully,
Congratulations.
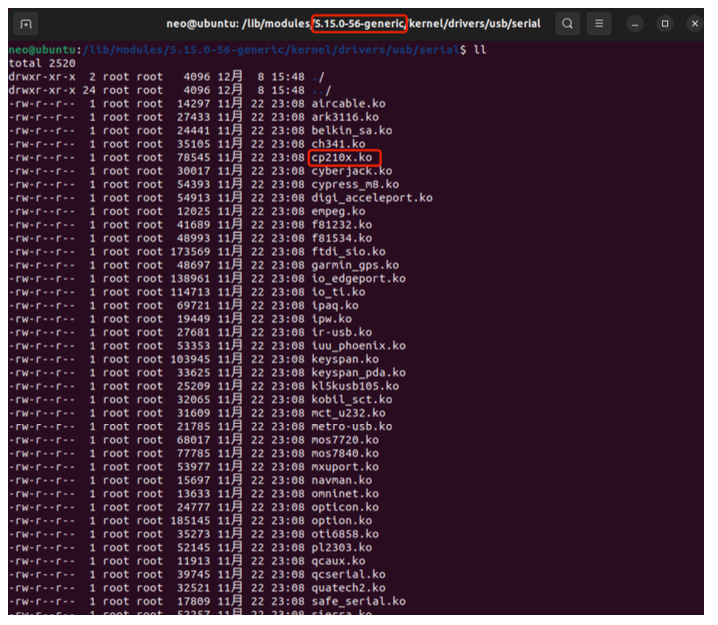
1.1.2.3 Linux
This is an example of Ubuntu (other versions are similar) and can be found at the following paths: /lib/modules/5.15.0-56-generic/kernel/drivers/usb/serial (where “5.15.0-56-generic”, you need to choose according to the actual situation of your system, do not copy this path directly), you can find: cp210x.ko; indicating that the system has installed this driver.
1.2 Software Installation
Click on the installation package and follow the instructions to
install or unzip the package to open it.