The “Application Top Bar” runs across the top of the application screen horizontally and features a logo on the top left corner. Beside the logo, the Application Top Bar features:

Main Menu Icon
“Main Menu” – This is located as an icon with three horizontal lines. When clicked, this reveals the Main Menu with all the navigation options to the various sections of the Application.
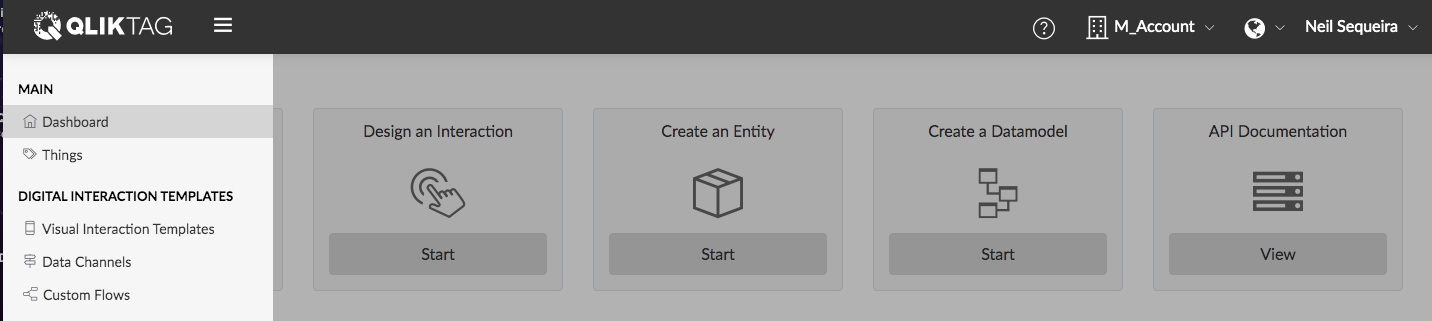
Help Icon
“Help & Documentation” – This is located on the application top bar as a question mark icon. When clicked, the Help option appears and will further navigate you to the online Help & Knowledge Base which serves as the User Guide and documentation for any help related to the Platform.

Account Switcher Icon
“Account Switcher” – This is located on the application top bar with a Building / Company icon with the currently selected Account Name displayed beside it. When clicked, if you as a user of the system are assigned to more than one Account on the Qliktag, Platform, you will see a drop down of the names of the Master Account and/or Auxiliary Accounts you have been assigned or granted access to. Note: if you have only been assigned as a user to a single account, then this will not apply. To switch your view to another Account without having to sign out and sign back into another account separately, select the Account from the drop down. A pop-up will appear confirming you wish to switch accounts. Click on the “Switch” button to confirm and you will be redirected to the Dashboard of the Master / Auxiliary Account you have selected and use the system as that Account without having to sign out and sign in. This is especially useful if you are either a Controller/Administrator with multiple Accounts created in your system that you need to manage on behalf of those accounts OR if you are a user that needs to switch and work on multiple accounts within the platform.
Language Icon
“Application Language” – This is located on the application top bar with a Globe/Languages icon. When clicked, a dropdown will appear with multiple languages that your Application has been translated into and made available in. Selecting the language of your choice will translate all the labels and sections within the Application into the language of your choice.
